Using Moorhen in a react app
Scope
Moorhen is built on React, and has been designed to be readily inserted into React apps to provide Moorhen’s capabilities for viewing and editing macromolecular structures. This tutorial is part of a series that will show how to:
- Build a simple Moorhen app, starting from
create-react-app(this tutorial) - Specialize that app to pull in structures and maps from an API tutorial 2, and
- Provide dedicated UI elements to navigate around features of a structure within the Moorhen component tutorial 3
Background and requirements
To follow this tutorial, you will needs a computer with NodeJS installed, and access to a (code) editor such as Visual Studio Code.
Getting started
To start with, we will use the create-react-app tool to generate a simple react application.
create-react-app is a command line npx script provided by your NodeJS installation. To use it, you will first need to launch a terminal application on your computer, navigate to the place you’d like to initiate your app and invoke the create-react-app command:
npx create-react-app my-moorhen-app
This will create a minimal create-react-app called my-moorhen-app, the composition of which is described elsewhere. You are encouraged to work through the tutorial on the create react app web site if this is your first experience using it. For the purpose of this tutorial, you can also simply preview the app that has been created:
cd my-moorhen-app
npm run start
You should see the default create-react-app webpage:

A few actions and edits are needed to make this a Moorhen application. The first is to use the Node Package Manager (npm) to install Moorhen and its dependencies.
Obtaining and installing Moorhen
We are exploring the licensing position of making moorhen available as an npm package. For now, the package is available as a gzipped tar file from a github release page. If you encounter problems accessing this, please contact the principal curator of the package filomeno.sanchezrodriguez@york.ac.uk.
After obtaining the moorhen package, copy it into the root directory of your my-moorhen-app. At the time of writing this tutorial the latest release was v0.2.0, so you may need to change the file name accordingly.
cp path_to/moorhen-0.2.0.tgz .
(where path_to specifies the directory in which you have downloaded the gzipped tar file)
The next action is to use the node package manager to install it, and to retrieve its dependencies
npm install ./moorhen-0.2.0.tgz
A Moorhen app requires certain static assets to be available from the app’s HTTP server at a path beginning /baby-gru. To place those files in the appropriate place for the create-react-app build system, a copy command is required:
cp -r node_modules/moorhen/baby-gru ./public/
Configuring the proxy server
To protect javascript app users, browsers allow the enforcement of a cross origin policy that mitigates (for example) the execution of javascript code injected by a malicious player. This restriction means we have to configure the create-react-app development server to insert some headers.
To do this, create a file setupProxy.js in the src subdirectory of my-moorhen-app with contents:
    module.exports = function (app) {
        app.use(function (req, res, next) {
            res.setHeader("Cross-Origin-Opener-Policy", "same-origin");
            res.setHeader("Cross-Origin-Embedder-Policy", "require-corp");
            next();
        });
    };
Patching index.html
The main Moorhen UI thread needs to be able to use certain web-assembled crystallography tools, and enabling this requires an edit to the file public/index.html
In public/index.html, after the comment stanza:
    <!--
      Notice the use of %PUBLIC_URL% in the tags above.
      It will be replaced with the URL of the `public` folder during the build.
      Only files inside the `public` folder can be referenced from the HTML.

      Unlike "/favicon.ico" or "favicon.ico", "%PUBLIC_URL%/favicon.ico" will
      work correctly both with client-side routing and a non-root public URL.
      Learn how to configure a non-root public URL by running `npm run build`.
    -->
Insert the following two blocks of code:
    <script>
      // See https://github.com/facebook/react/issues/20829#issuecomment-802088260
      if (!crossOriginIsolated) SharedArrayBuffer = ArrayBuffer;
    </script>
(Required to deal with a cross origin issue)
    <!--Here some imports and actions to make some crystallographic logic available to the main UI thread (as opposed to the CootWorker)-->
    <script>
      window.onload = () => {
        createCCP4Module({
          print(t) { console.log(["output", t]) },
          printErr(t) { console.log(["output", t]); }
        })
          .then(function (CCP4Mod) {
            window.CCP4Module = CCP4Mod;
          })
          .catch((e) => {
            console.log("CCP4 problem :(");
            console.log(e);
          });
      }
    </script>

    <script src="%PUBLIC_URL%/baby-gru/wasm/web_example.js"></script>
(Required to load crystallographic tools for the main GUI thread)
Adding Moorhen components into App.js
Finally, we need to replace the default create-react-app content with a Moorhen view in file src/App.js. To achieve this, we have to add imports into the top of src/App.js:
import {MoorhenReduxProvider, MoorhenContainer} from 'moorhen'
And then replace the default create-react-app content:
    <header className="App-header">
        <img src={logo} className="App-logo" alt="logo" />
        <p>
          Edit <code>src/App.js</code> and save to reload.
        </p>
        <a
          className="App-link"
          href="https://reactjs.org"
          target="_blank"
          rel="noopener noreferrer"
        >
          Learn React
        </a>
    </header>
with the following content
    <MoorhenReduxProvider>
        <MoorhenContainer/>
    </MoorhenReduxProvider>
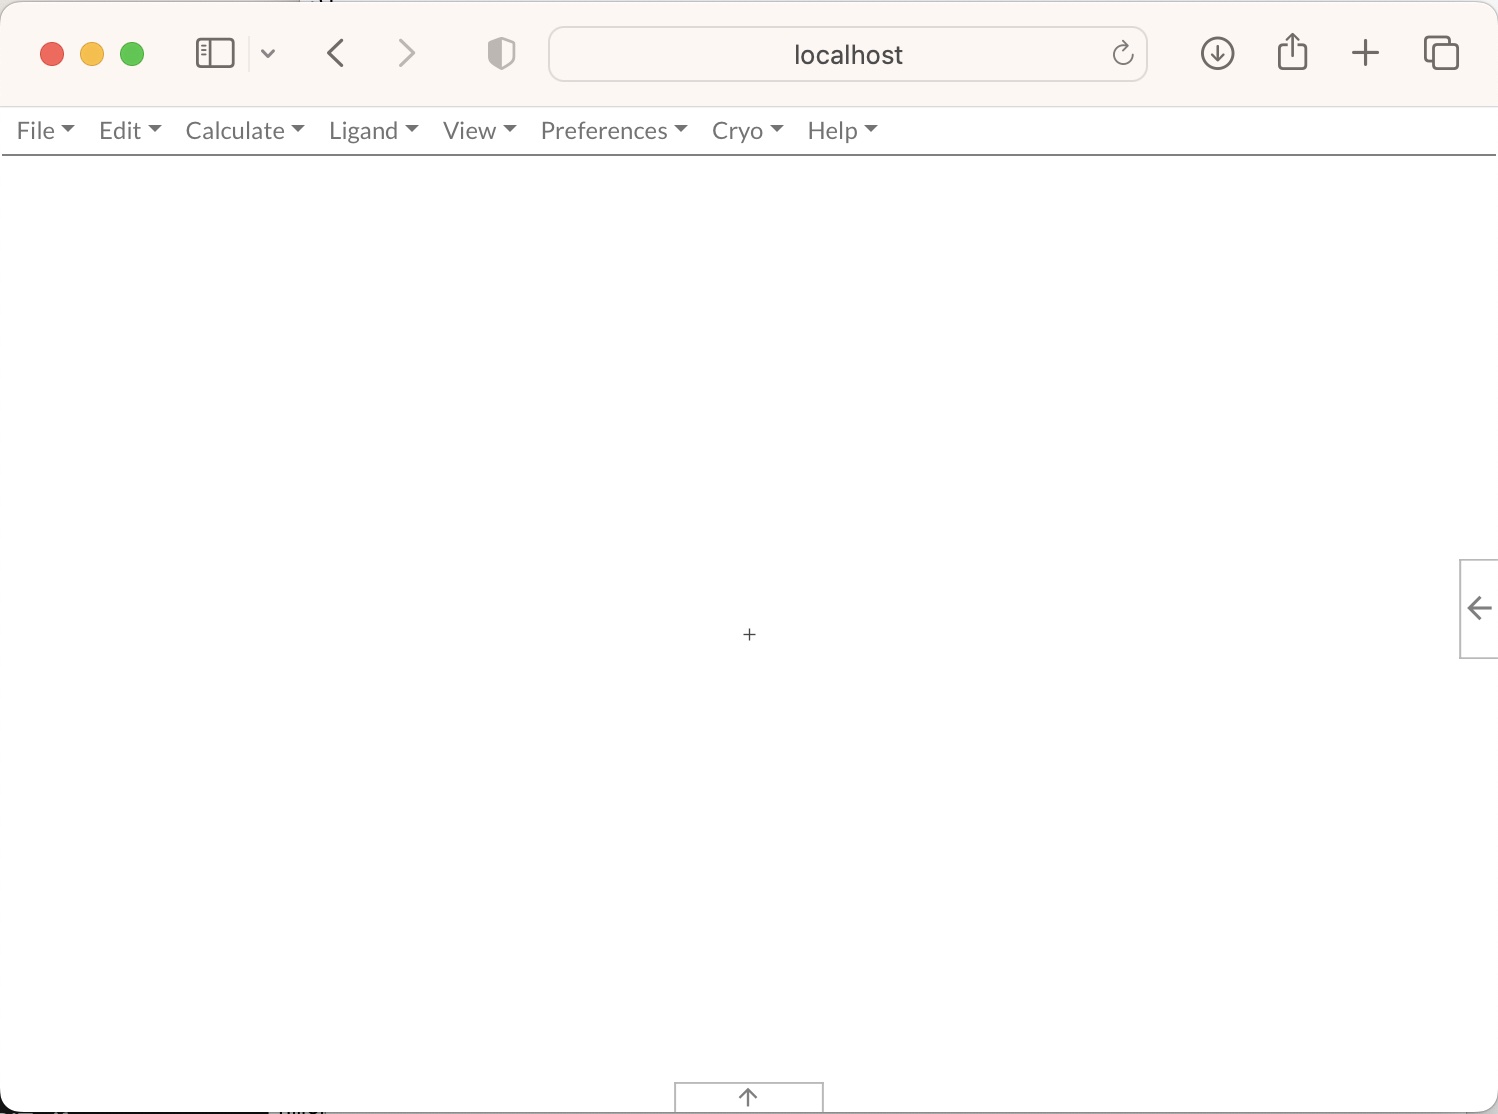
We will talk more about MoorhenReduxProvider and MoorhenContainer and how you can use them to fetch data from Moorhen in tutorial 2. Now if you reload the page in your web browser, you should be seeing the base moorhen app:

We have pushed the resulting project to a git repository at git@github.com:moorhen-coot/Moorhen-react-dev-tutorial-1.git. Note that you will have to obtain a copy of moorhen-X.X.X.tgz and carry out the npm install step for this repository to provide a working copy of the base app.