Embedding Moorhen in React, NextJS and Electron
Deploying/Embedding Moorhen
Adding Moorhen to a web server
A useful example is:
https://github.com/stuartjamesmcnicholas/moorhen-dist.git
This is a tiny (trivial) React project which embeds moorhen and creates a deployable folder.
Simplest case: Moorhen is the website
git clone https://github.com/stuartjamesmcnicholas/moorhen-dist.git
cd moorhen-dist
npm install && npm run build
The build directory now contains all that is necessary to run Moorhen from the root of a web server. The project comes with an example server script in Python:
cd dist
python3 ../SimpleCrossOriginServer.py

Serving HTTP on :: port 8000 (http://[::]:8000/)
Moorhen is part of the website, i.e. at non-root URL
If you want to deploy at <SERVER_ROOT>/xtal/ccp4/moorhen/
Edit src/App.tsx and change urlPrefix to where you want it to be. e.g. for above case:
const urlPrefix = "/xtal/ccp4/moorhen/baby-gru"
You can test this with
npm run build
mkdir -p  xtal/ccp4
cp -a build xtal/ccp4/moorhen
python3 SimpleCrossOriginServer.py
And point your browser at http://localhost:8000/xtal/ccp4/moorhen/
Server considerations
Moorhen includes a WebAssembly - binary format which can be compiled from C, C++, etc. and deployed to the web - build of much of Coot (non-graphical parts) and dependencies: libccp4, clipper, mmdb2, gemmi, privateer, ssm, slicendice, RDKit, boost, fftw, gsl, eigen, freetype, glm, graphene, gsl, igraph, libpng, zlib.
Various parts of Coot are multi-threaded, which implies the use of Web Workers. Further, we run all heavy computation in a dedicated Web Worker (thread) to keep the UI responsive. This means we are using nested Web Workers. This (at present) requires some special server considerations.
In particular, we must set the HTTP headers Cross-Origin-Opener-Policy and Cross-Origin-Embedder-Policy appropriately. Our example Python server SimpleCrossOriginServer.py does this:
from http.server import HTTPServer, SimpleHTTPRequestHandler, test
import sys
class CORSRequestHandler (SimpleHTTPRequestHandler):
    def end_headers (self):
        self.send_header('Cross-Origin-Opener-Policy', 'same-origin')
        self.send_header('Cross-Origin-Embedder-Policy', 'require-corp')
        SimpleHTTPRequestHandler.end_headers(self)
if __name__ == '__main__':
    test(CORSRequestHandler, HTTPServer, port=int(sys.argv[1]) if len(sys.argv) > 1 else 8000)
In production you are likely running a different server. In NodeJS, you might want something like:
exp.use(function(req, res, next) {
    res.header("Cross-Origin-Opener-Policy", "same-origin");
    res.header("Cross-Origin-Embedder-Policy", "require-corp");
    next();
});
On an Apache-based server something like this might be appropriate:
<IfModule mod_headers.c>
    Header add Cross-Origin-Opener-Policy "same-origin"
    Header add Cross-Origin-Embedder-Policy "require-corp"
</IfModule>
Embedding Moorhen in a React project
Create new React Application
This can be done in various ways, in this example Vite is used.
npm create vite@latest my-app -- --template react

cd my-app

npm install

npm run dev

  VITE v7.0.0  ready in 102 ms
  ➜  Local:   http://localhost:5173/
  ➜  Network: use --host to expose
  ➜  press h + enter to show help
You should see something like this:
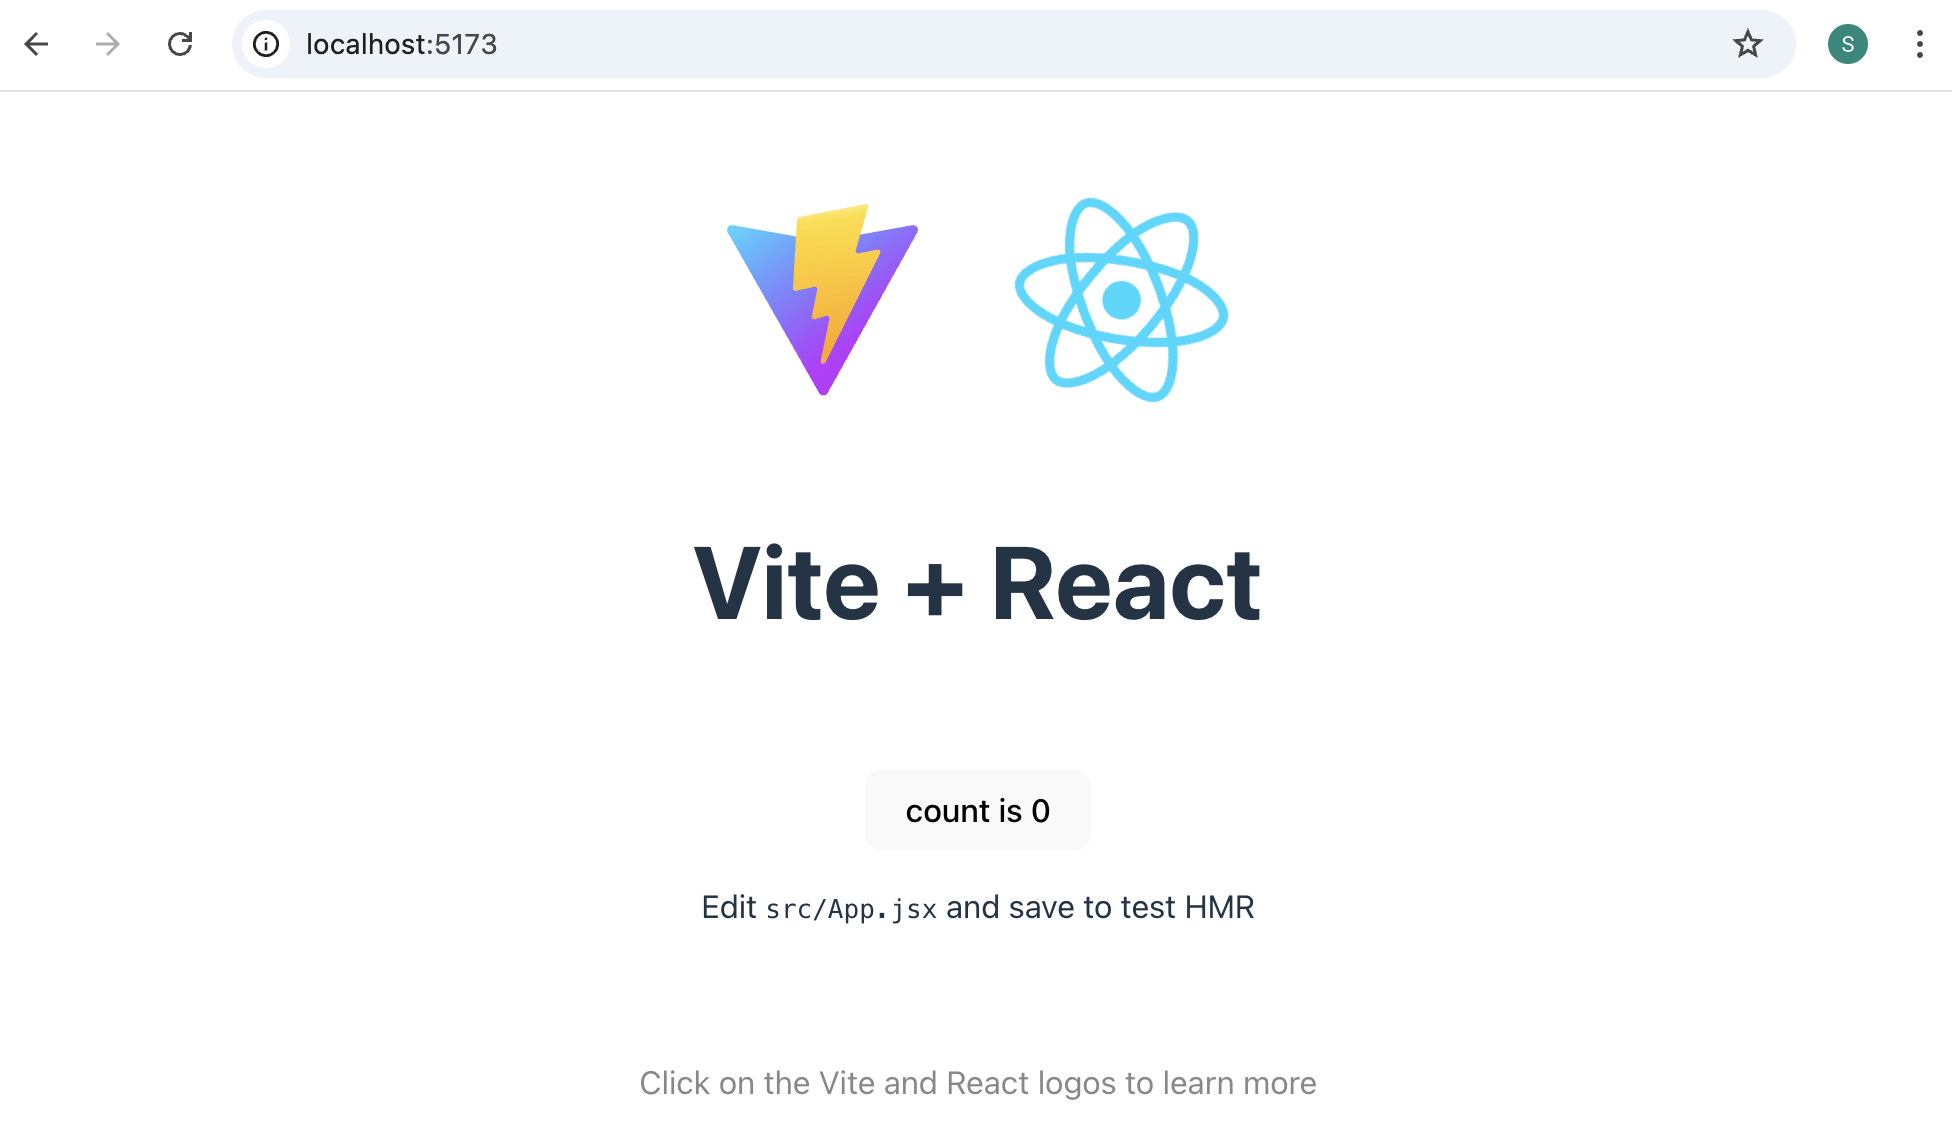
This is the React example app. In order to incorporate Moorhen, we need to edit the source code.
###
Adding Moorhen to React App
Firstly, we should edit src/App.jsx (or name it src/App.tsx if you want to use TypeScript in this file) to look something like:
import { WrappedMoorhen } from './WrappedMoorhen'; // Our new component which includes Moorhen
import { Provider } from 'react-redux';
import { MoorhenReduxStore } from 'moorhen' // A “Redux store”, holds the state of our app

import './App.css'

function App() {
  return (
    <div className="App">
      <Provider store={MoorhenReduxStore}> // Our component is inside Provider using our store
          <WrappedMoorhen/>                // This means same state is accessible everywhere.
      </Provider>
    </div>
  );
}

export default App;
The component WrappenMoorhen is defined in the file src/WrappedMoorhen.tsx:
import { MoorhenContainer } from 'moorhen'

export const WrappedMoorhen = () =>  {

    return <>
               <MoorhenContainer/>
           </>

}
We currently do not have the Moorhen code available to our project, so we install it (and a couple of dependencies like so:
npm i react-redux @emotion/styled @emotion/react
npm i moorhen@0.22.0-beta.4
Note that we are using a development (beta) version of Moorhen. This does not matter too much for this particular example, but is important for later examples in this document.
Now we need to copy some Moorhen assets to public folder:
mkdir -p ./public && cp -r ./node_modules/moorhen/public/* ./public/
This step is necessary because the Coot Worker needs to know where to get WebAssembly, etc. from. Also other assets are looked for here, they could perhaps be packaged differently, but this is the way that works now. This was already done in package.json for us in the earlier example.
Now we need to provide an index.html. This needs to be in the root directory of our project, i.e. not in src. The example below is from
https://raw.githubusercontent.com/stuartjamesmcnicholas/MinimalEmbeddedMoorhen/refs/heads/main/index.html
It seems quite long and complicated, almost all of it is just to load the Coot WebAssembly functionality into the main UI Worker of the application. We do this so that we can do things like analyze the contents of e.g. MTZ files before loading them with particular options.
<!doctype html>
<html lang="en" class="stop-scrolling">
  <head>
    <meta charset="utf-8" />
    <link rel="icon" href="/favicon.ico" />
    <meta name="viewport" content="width=device-width, initial-scale=1.0" />
    <meta name="theme-color" content="#000000" />
    <meta name="description" content="Moorhen is a molecular graphics web application based on the Coot desktop program." />

    <title>Moorhen</title>

    <script>
      if (!crossOriginIsolated) SharedArrayBuffer = ArrayBuffer;
    </script>

    <script>
      window.onload = () => {

        const loadScript = (src) => {
          return new Promise((resolve, reject) => {
            const script = document.createElement('script')
            script.src = src
            script.onload = () => resolve(src)
            script.onerror = () => reject(new Error('Failed to load script: ' + src))
            document.head.appendChild(script)
          })
        }

        const memory64 = WebAssembly.validate(new Uint8Array([0, 97, 115, 109, 1, 0, 0, 0, 5, 3, 1, 4, 1]))

        if (memory64) {
          loadScript('/moorhen64.js')
            .then(src => {
              createCoot64Module({
                print(t) { console.log(["output", t]) },
                printErr(t) { console.error(["output", t]) },
                locateFile(path, prefix) {
                // if it's a mem init file, use a custom dir
                if (path.endsWith(".data")) return "/" + path;
                // otherwise, use the default, the prefix (JS file's dir) + the path
                return prefix + path;
              }
              })
              .then((returnedModule) => {
                window.cootModule = returnedModule
                window.CCP4Module = returnedModule
                const cootModuleAttachedEvent = new CustomEvent("cootModuleAttached", { })
                document.dispatchEvent(cootModuleAttachedEvent)
                console.log(src + ' loaded 64-bit successfully.')
              })
              .catch((error) => {
                console.log("There was a problem creating Coot64Module...")
                console.error(error.message)
                console.log("Trying 32-bit fallback")
                loadScript('/moorhen.js')
                  .then(src => {
                    console.log(src + ' loaded 32-bit successfully (fallback).')
                    createCootModule({
                      print(t) { console.log(["output", t]) },
                      printErr(t) { console.log(["output", t]) }
                    })
                    .then((returnedModule) => {
                      window.cootModule = returnedModule;
                      window.CCP4Module = returnedModule;
                      const cootModuleAttachedEvent = new CustomEvent("cootModuleAttached", { })
                      document.dispatchEvent(cootModuleAttachedEvent)
                      console.log(src + ' loaded 32-bit successfully.')
                    })
                  })
                });
              })
              .catch((error) => {
              });
        } else {
          loadScript('/moorhen.js')

            .then(src => {
              createCootModule({
                print(t) { console.log(["output", t]) },
                printErr(t) { console.log(["output", t]) },
                locateFile(path, prefix) {
                // if it's a mem init file, use a custom dir
                if (path.endsWith(".data")) return "/" + path;
                // otherwise, use the default, the prefix (JS file's dir) + the path
                return prefix + path;
              }
              })
              .then((returnedModule) => {
                window.cootModule = returnedModule
                window.CCP4Module = returnedModule
                const cootModuleAttachedEvent = new CustomEvent("cootModuleAttached", { })
                document.dispatchEvent(cootModuleAttachedEvent)
                console.log(src + ' loaded 32-bit successfully.')
              })
              .catch((e) => {
                console.log(e)
              });
            })
        }
      }
    </script>
  </head>

  <body>
    <div id="root"></div>
    <script type="module" src="/src/main.jsx"></script>
  </body>

</html>
Finally we need two more files at the top of our project. Firstly a TypeScript configuration file, tsconfig.json:
    "compilerOptions": {
        "allowJs": true,
        "outDir": "tsDist",
        "module": "es6",
        "target": "es6",
        "rootDir": "./",
        "lib": ["ESNext.Array", "esnext", "es6", "dom", "dom.Iterable", "es2017", "WebWorker"],
        "skipLibCheck": true,
        "esModuleInterop": true,
        "jsx": "react-jsx",
        "sourceMap": true,
        "moduleResolution": "node"
      },
      "include": [
        "src/*"
      ]
}
And secondly a Vite configuration file vite.config.mts (we can remove the original which had the slightly different name vite.config.js):
import { defineConfig } from 'vite'
import react from '@vitejs/plugin-react-swc'
import crossOriginIsolation from 'vite-plugin-cross-origin-isolation'
import topLevelAwait from "vite-plugin-top-level-await";
import checker from 'vite-plugin-checker';

export default defineConfig({
    css: {
      preprocessorOptions: {
        scss: {
          api: 'modern',
        }
      }
    },
    plugins: [
        react(),
        topLevelAwait(),
        crossOriginIsolation(),
        checker({ typescript: {
            root: './',
            tsconfigPath: 'tsconfig.json'

        }}),
        {
            name: "configure-response-headers",
            configureServer: (server) => {
                server.middlewares.use((_req, res, next) => {
                    res.setHeader("Cross-Origin-Opener-Policy", "same-origin");
                    res.setHeader("Cross-Origin-Embedder-Policy", "require-corp");

                    next();
                });
            },
        },
    ],
    server: {
        headers: {
            "Cross-Origin-Opener-Policy": "same-origin",
            "Cross-Origin-Embedder-Policy": "require-corp",
        },
        watch: {
            ignored: [
                '**/public/monomers/**',
                '**/public/**.wasm',
                '**/public/**.data',
                '**/public/pixmaps/**',
                '**/public/tutorials/**'
            ]
        }
    },
    base: './',
    optimizeDeps: {
        exclude: ['iris-validation-backend']
      }
});
The vite.config.mts file (amongst other things) defines the CORS HTTP headers.
Now we can run the server again with npm run dev and we should now see Moorhen.
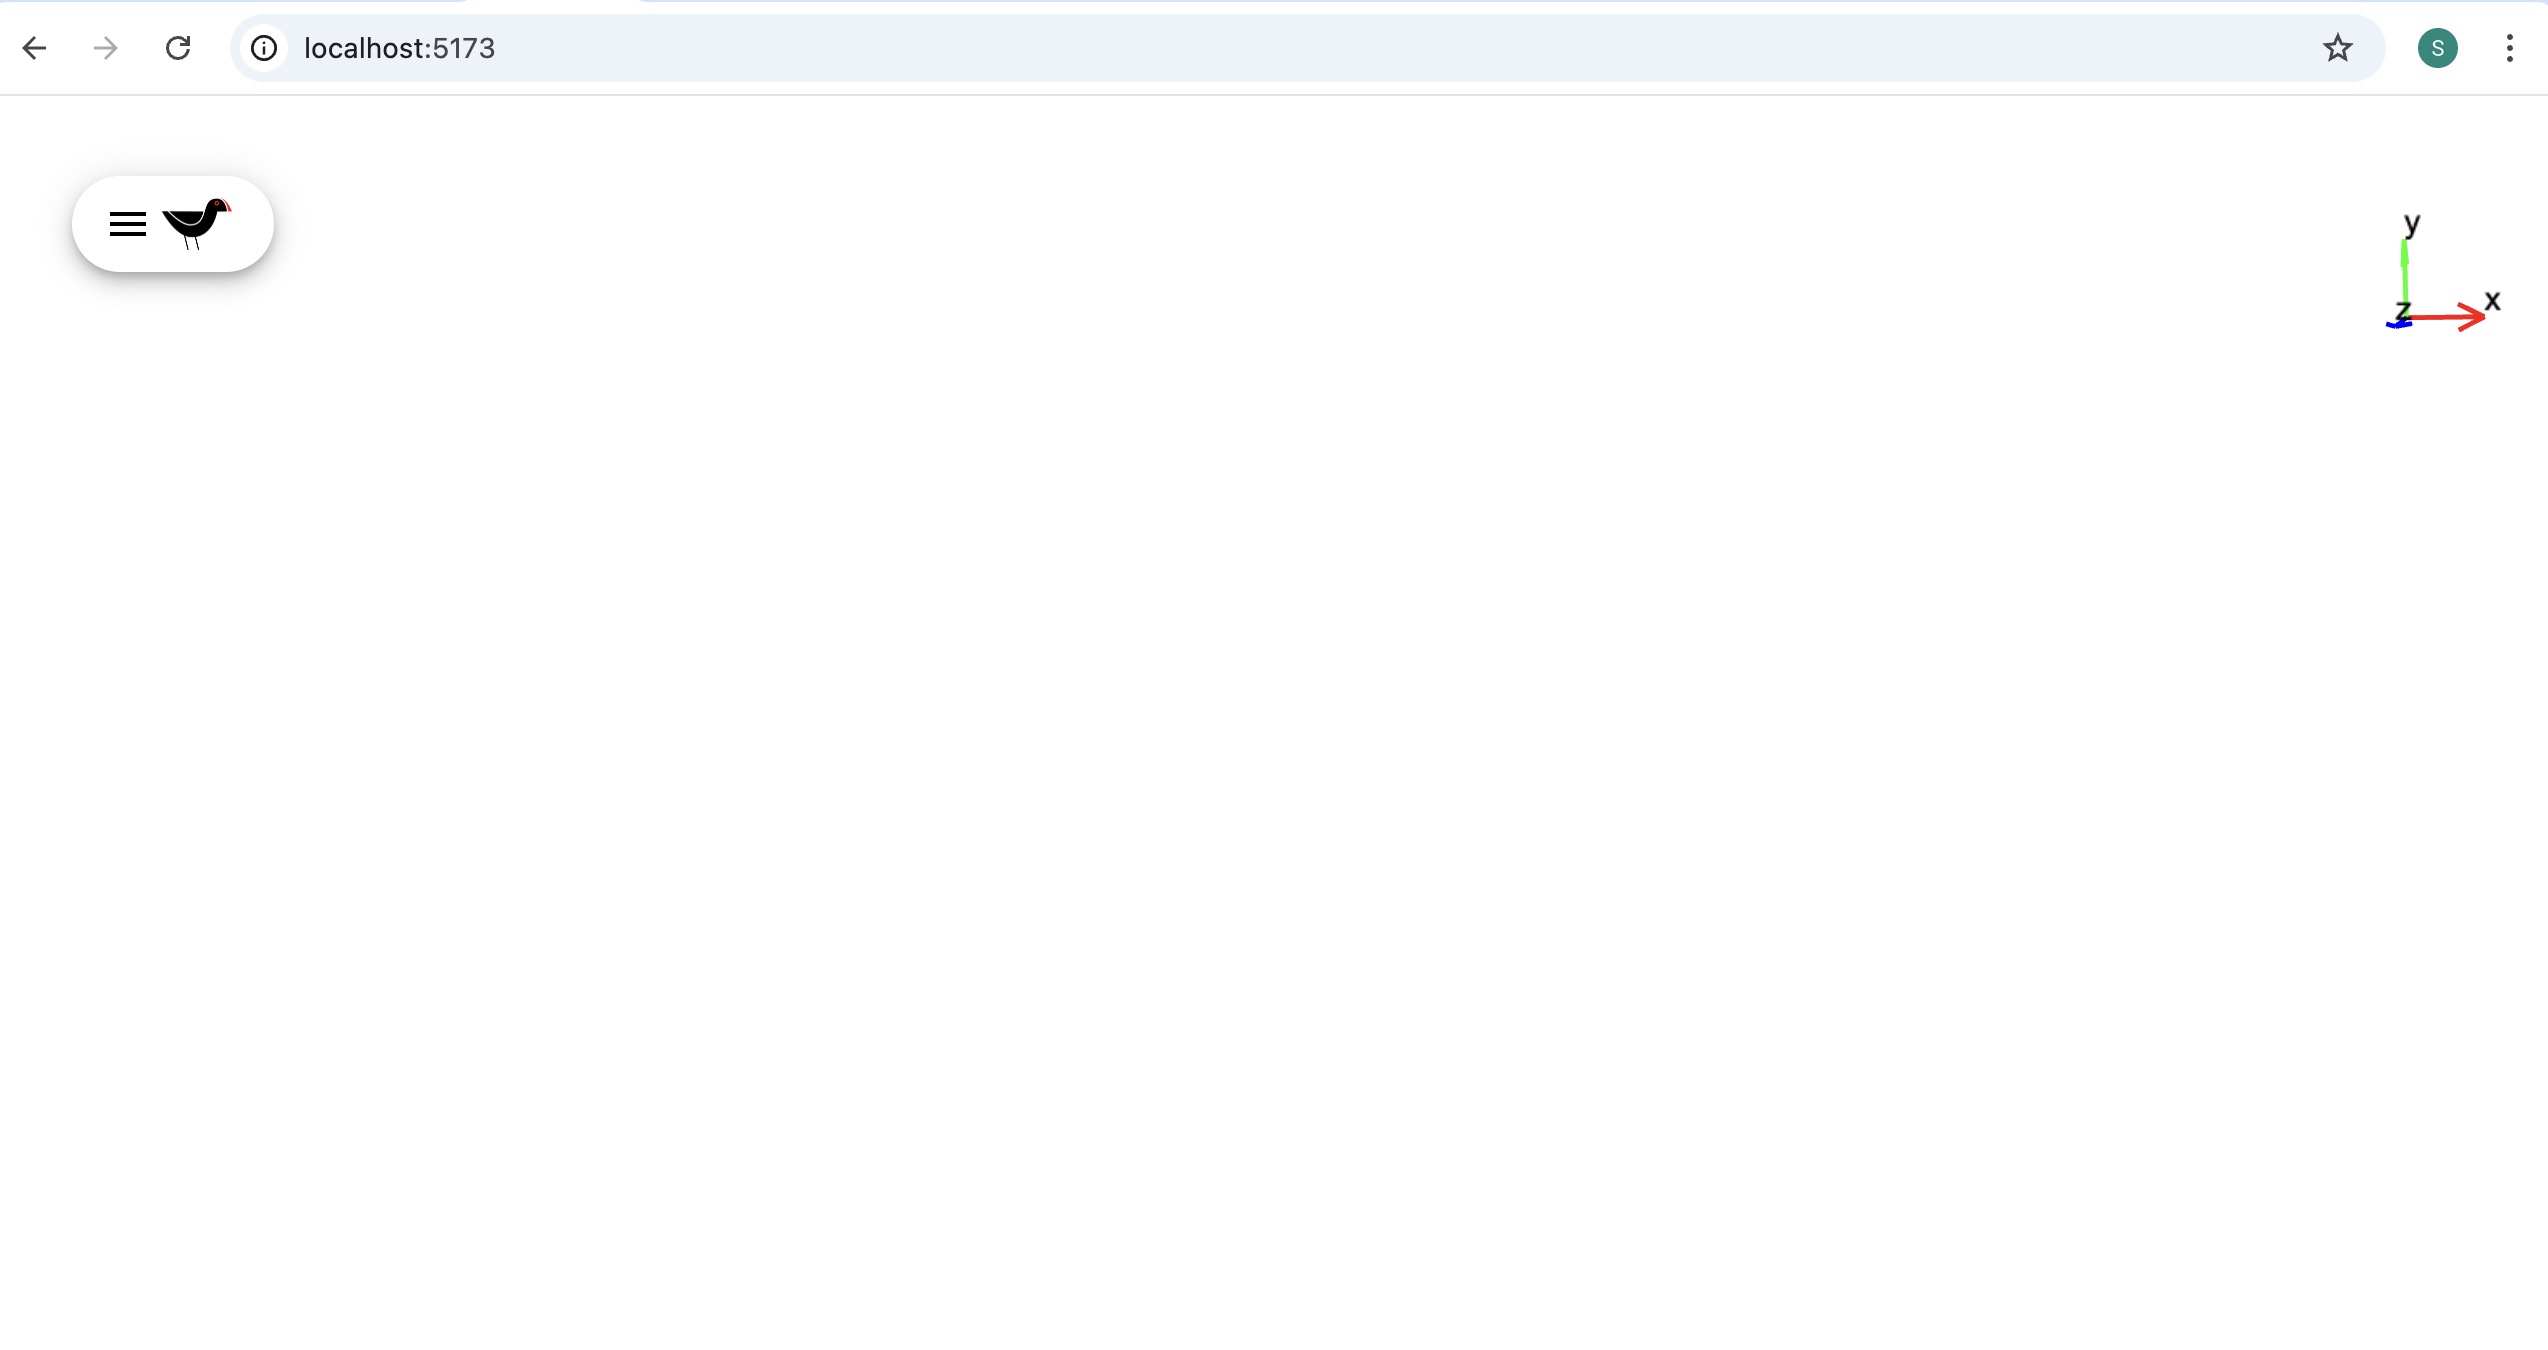
Of course, this is essentially the same as the previous section with the minimal addition of Moorhen to a web server. In this example we did not even set the urlPrefix, in practice we probably want to (in exactly the same way).
Accessing Moorhen Internals
Various features of Moorhen are “exported” which means we can import them into our own application. This includes things such as all the loaded maps and molecules, functions to load new maps and molecules, adding new representations, setting view origin, etc.
We can modify our WrappedMoorhen.tsx to utilise some of these features.
import { useRef } from 'react';
import { MoorhenContainer, MoorhenMolecule, MoorhenMap, addMolecule, addMap, setActiveMap, MoorhenReduxStore } from 'moorhen'
import { moorhen } from 'moorhen/types/moorhen';

export const WrappedMoorhen = () =>  {

    const glRef = useRef(null) // This may not be necessary in near future
    const timeCapsuleRef = useRef(null)
    const commandCentre = useRef(null)
    const moleculesRef = useRef(null)
    const mapsRef = useRef(null)
    const activeMapRef = useRef(null)
    const lastHoveredAtom = useRef(null)
    const prevActiveMoleculeRef = useRef(null)
    const collectedProps = {
        glRef, timeCapsuleRef, commandCentre, moleculesRef, mapsRef, activeMapRef,
        lastHoveredAtom, prevActiveMoleculeRef
    }

    return <>
            <MoorhenContainer {...collectedProps}/>
           </>
We have created (currently null) references which will point to various Moorhen internals:
glRef- this is the WebGL (3D graphics) rendering widget. Access to this is likely to be removed in the future.commandCentre- A manager allowing us to execute Coot commands in WebAssembly and get back the results.timeCapsuleRef- this deals with saving and loading session state.moleculesRef- the loaded molecules.mapsRef- the loaded maps.activeMapRef- the currently “active” map in Coot speak, the map that will change in response to keystrokes to increase/decrease radius/contour, etc.lastHoveredAtom- the last atom the mouse hovered over.prevActiveMoleculeRef- the previously active molecule.
These references when passed to the MoorhenContainer will become non-null objects, giving
Also note that imported Moorhen features:
MoorhenContainer- A wrapper round the embeddable Moorhen.MoorhenMolecule- The molecule class. We can create a new molecule with this.MoorhenMap- The map class.addMolecule- A method to add a newly createdMoorhenMoleculeto Moorhen and ensure all internal state and widgets repspond correctly.addMap- Same for a new map.setActiveMap- Set the active map.MoorhenReduxStore- The management of state of the application. Note this is also available asprops.storein this class since we passed it fromsrc/App.tsx.
The edited application would still be the same as the previous one, it’s just that we have now created the potential to play with Moorhen internals.
We can add some extra buttons now and have them call Moorhen methods:
    const baseUrl = 'https://www.ebi.ac.uk/pdbe/entry-files'

    const doClick = (pdbCode: string) => {
        loadData(pdbCode)
    }

    const loadData = async (pdbCode: string) => {
        await fetchMolecule(${baseUrl}/download/${pdbCode}.cif, pdbCode)
        await fetchMap(${baseUrl}/${pdbCode}_diff.ccp4, ${pdbCode}-FoFc, true)
        await fetchMap(${baseUrl}/${pdbCode}.ccp4, ${pdbCode}-2FoFc)
    }

    return <>
            <Button onClick={() => doClick("5a3h")}>5a3h</Button>
            <Button onClick={() => doClick("4dfr")}>4dfr</Button>
            <Button onClick={() => doClick("5vof")}>5vof</Button>
            <MoorhenContainer {...collectedProps}/>
           </>
When the button labelled “5a3h” is pressed it will call the method doClick with argument “5a3h”, this then calls loadData method with the same argument. (This could all be done in 1 rather than 2 methods).
fetchMolecule is defined:
    const fetchMolecule = async (url: string, molName: string) => {
        const newMolecule = new MoorhenMolecule(commandCentre, glRef, MoorhenReduxStore, monomerLibraryPath)
        newMolecule.setBackgroundColour(backgroundColor)
        newMolecule.defaultBondOptions.smoothness = defaultBondSmoothness
        try {
            await newMolecule.loadToCootFromURL(url, molName)
            if (newMolecule.molNo === -1) {
                throw new Error("Cannot read the fetched molecule...")
            }
            await newMolecule.fetchIfDirtyAndDraw('CBs')
            await newMolecule.addRepresentation('ligands', '/*/*/*/*')
            await newMolecule.centreOn('/*/*/*/*', true, true)
            dispatch(addMolecule(newMolecule))
        } catch (err) {
            console.warn(err)
            console.warn(Cannot fetch PDB entry from ${url}, doing nothing...)
        }
    }
Note that newMolcule is an instance of class MoorhenMolecule created by our application and that our application then call various methods of this new instance - e.g. loadToCootFromURL which fetches the coordinate data file and populates the class internals.
dispatch is React method for ensuring that state is propagated to the application properly. To use it we need an additional import and one line in our component:
import { useDispatch, useSelector } from 'react-redux';
export const WrappedMoorhen = () =>  {

    const dispatch = useDispatch()
    …
}
useSelector allows us to access state and is required for the backgroundColor and defaultBondSmoothness used in fetchMolecule.
    const backgroundColor = useSelector((state: moorhen.State) => state.sceneSettings.backgroundColor)
    const defaultBondSmoothness = useSelector((state: moorhen.State) => state.sceneSettings.defaultBondSmoothness)
Finally monomerLibraryPath needs to be declared. So in our component we have:
`const monomerLibraryPath = "https://raw.githubusercontent.com/MRC-LMB-ComputationalStructuralBiology/monomers/master/"`
We also need a fetchMap method:
    const fetchMap = async (url: string, mapName: string, isDiffMap: boolean = false) => {
        const newMap = new MoorhenMap(commandCentre, glRef, MoorhenReduxStore)
        try {
            await newMap.loadToCootFromMapURL(url, mapName, isDiffMap)
            if (newMap.molNo === -1) throw new Error("Cannot read the fetched map...")
            dispatch(addMap(newMap))
            dispatch(setActiveMap(newMap))
        } catch (err) {
            console.warn(err)
            console.warn(Cannot fetch map from ${url})
        }
        return newMap
    }
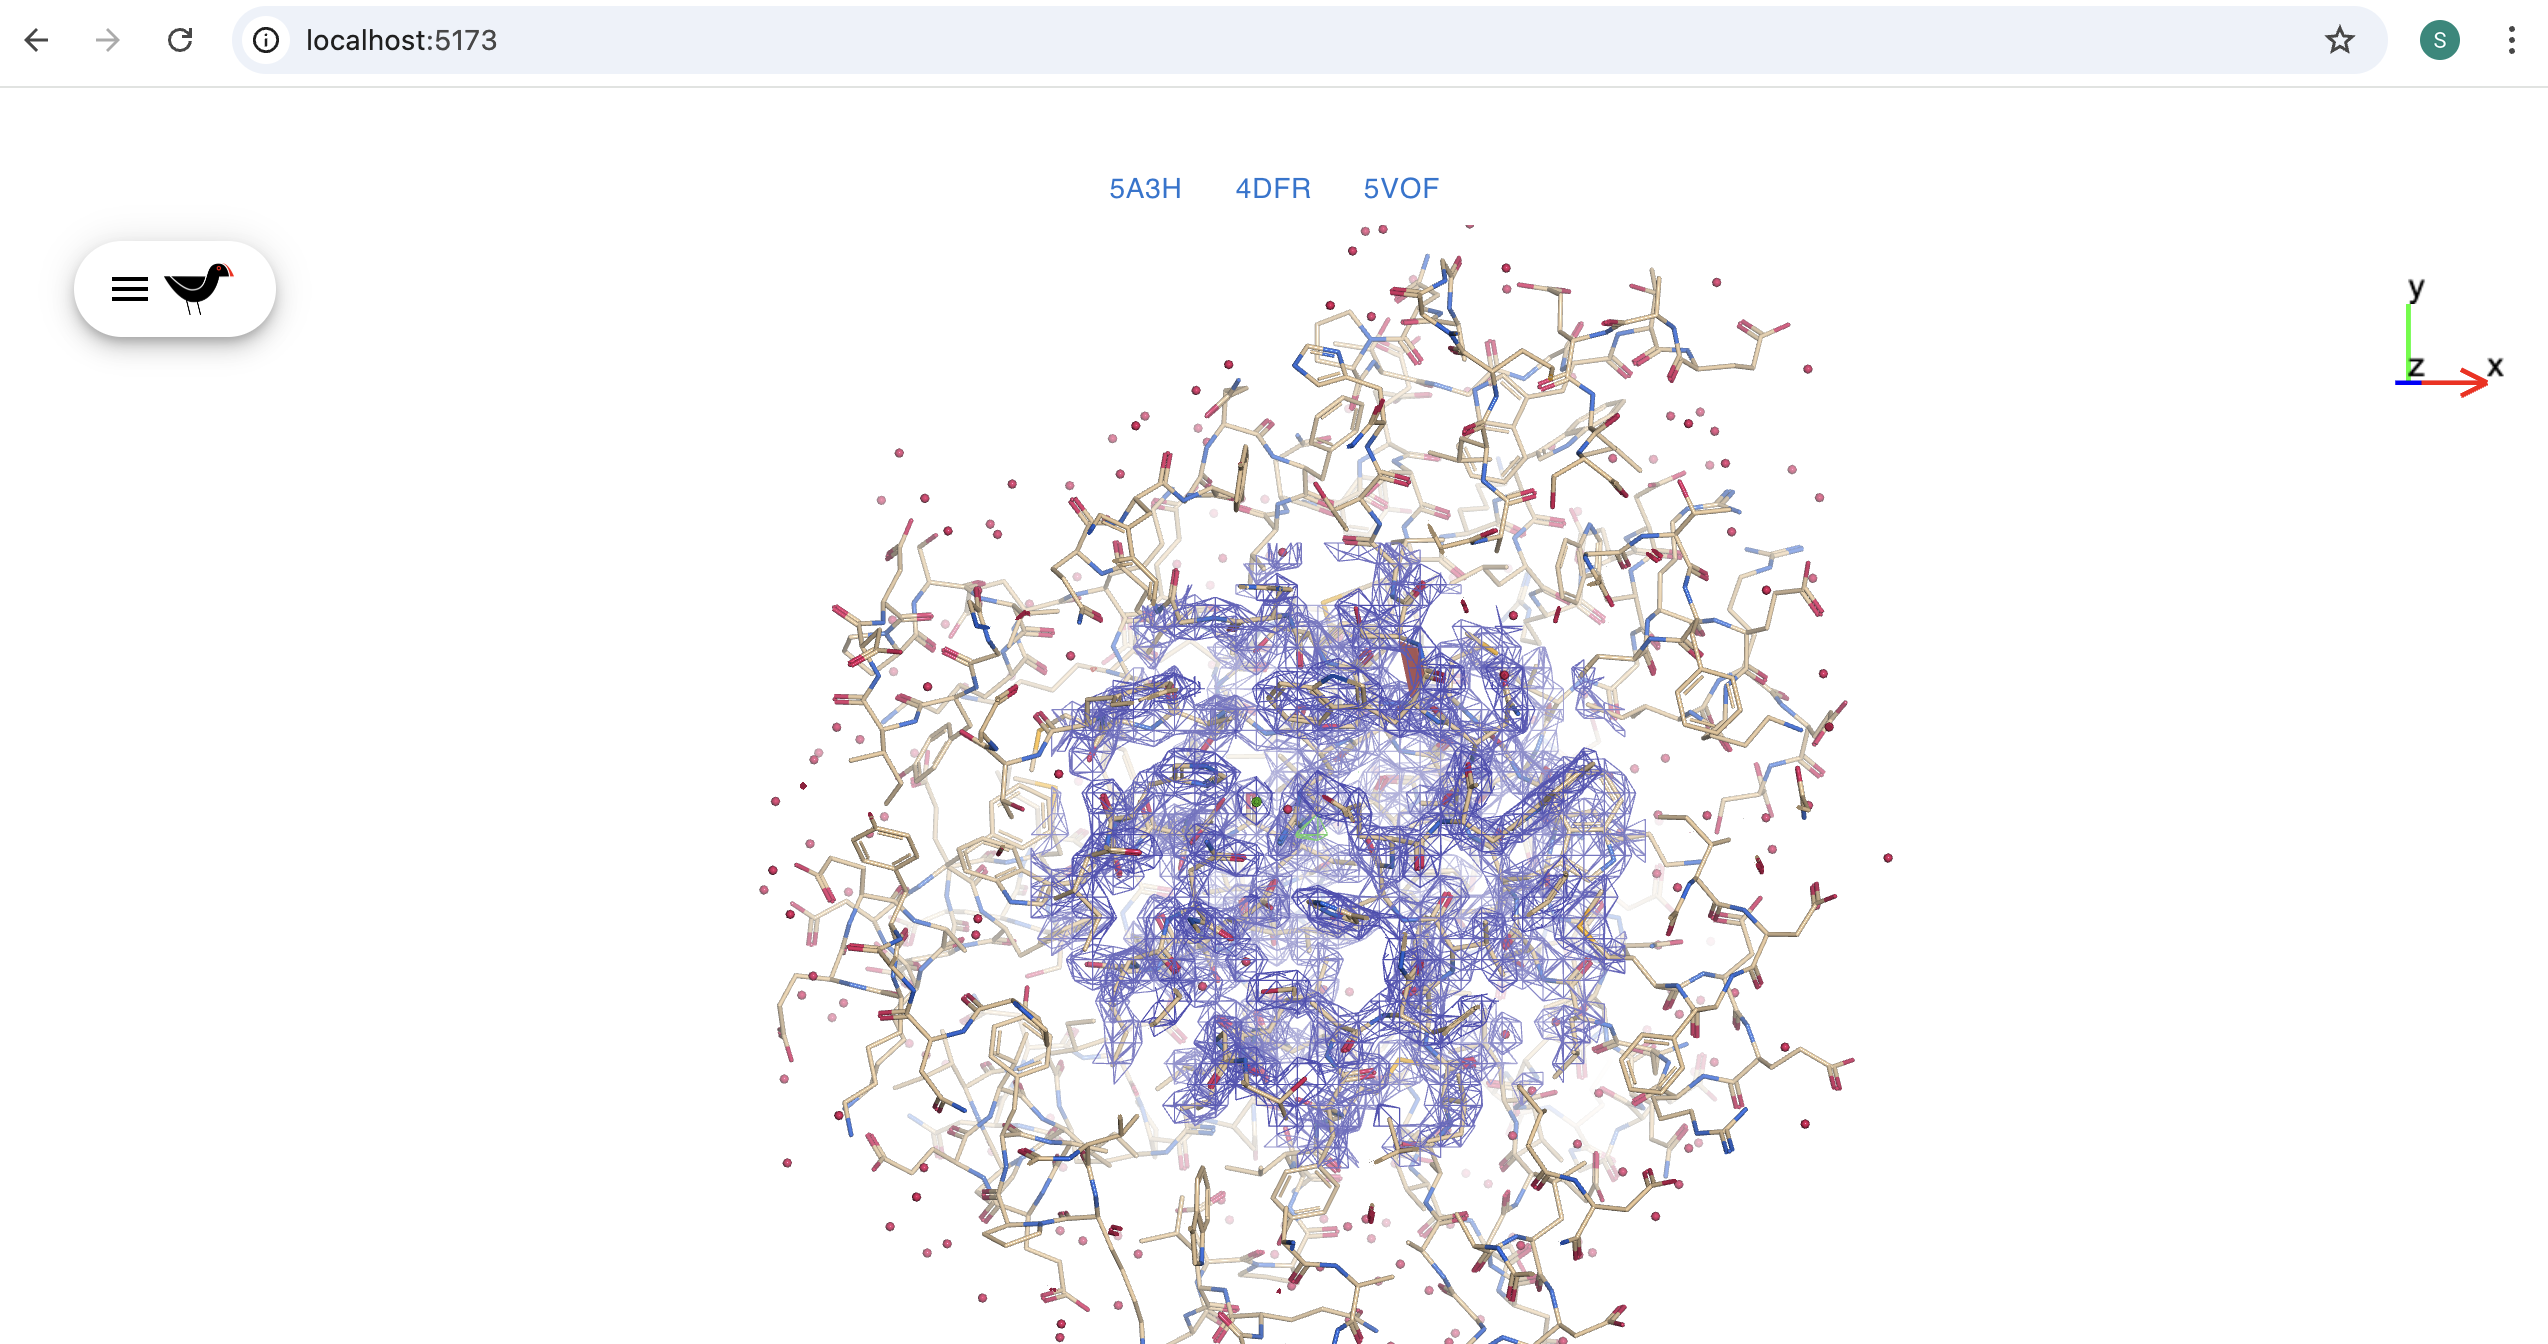
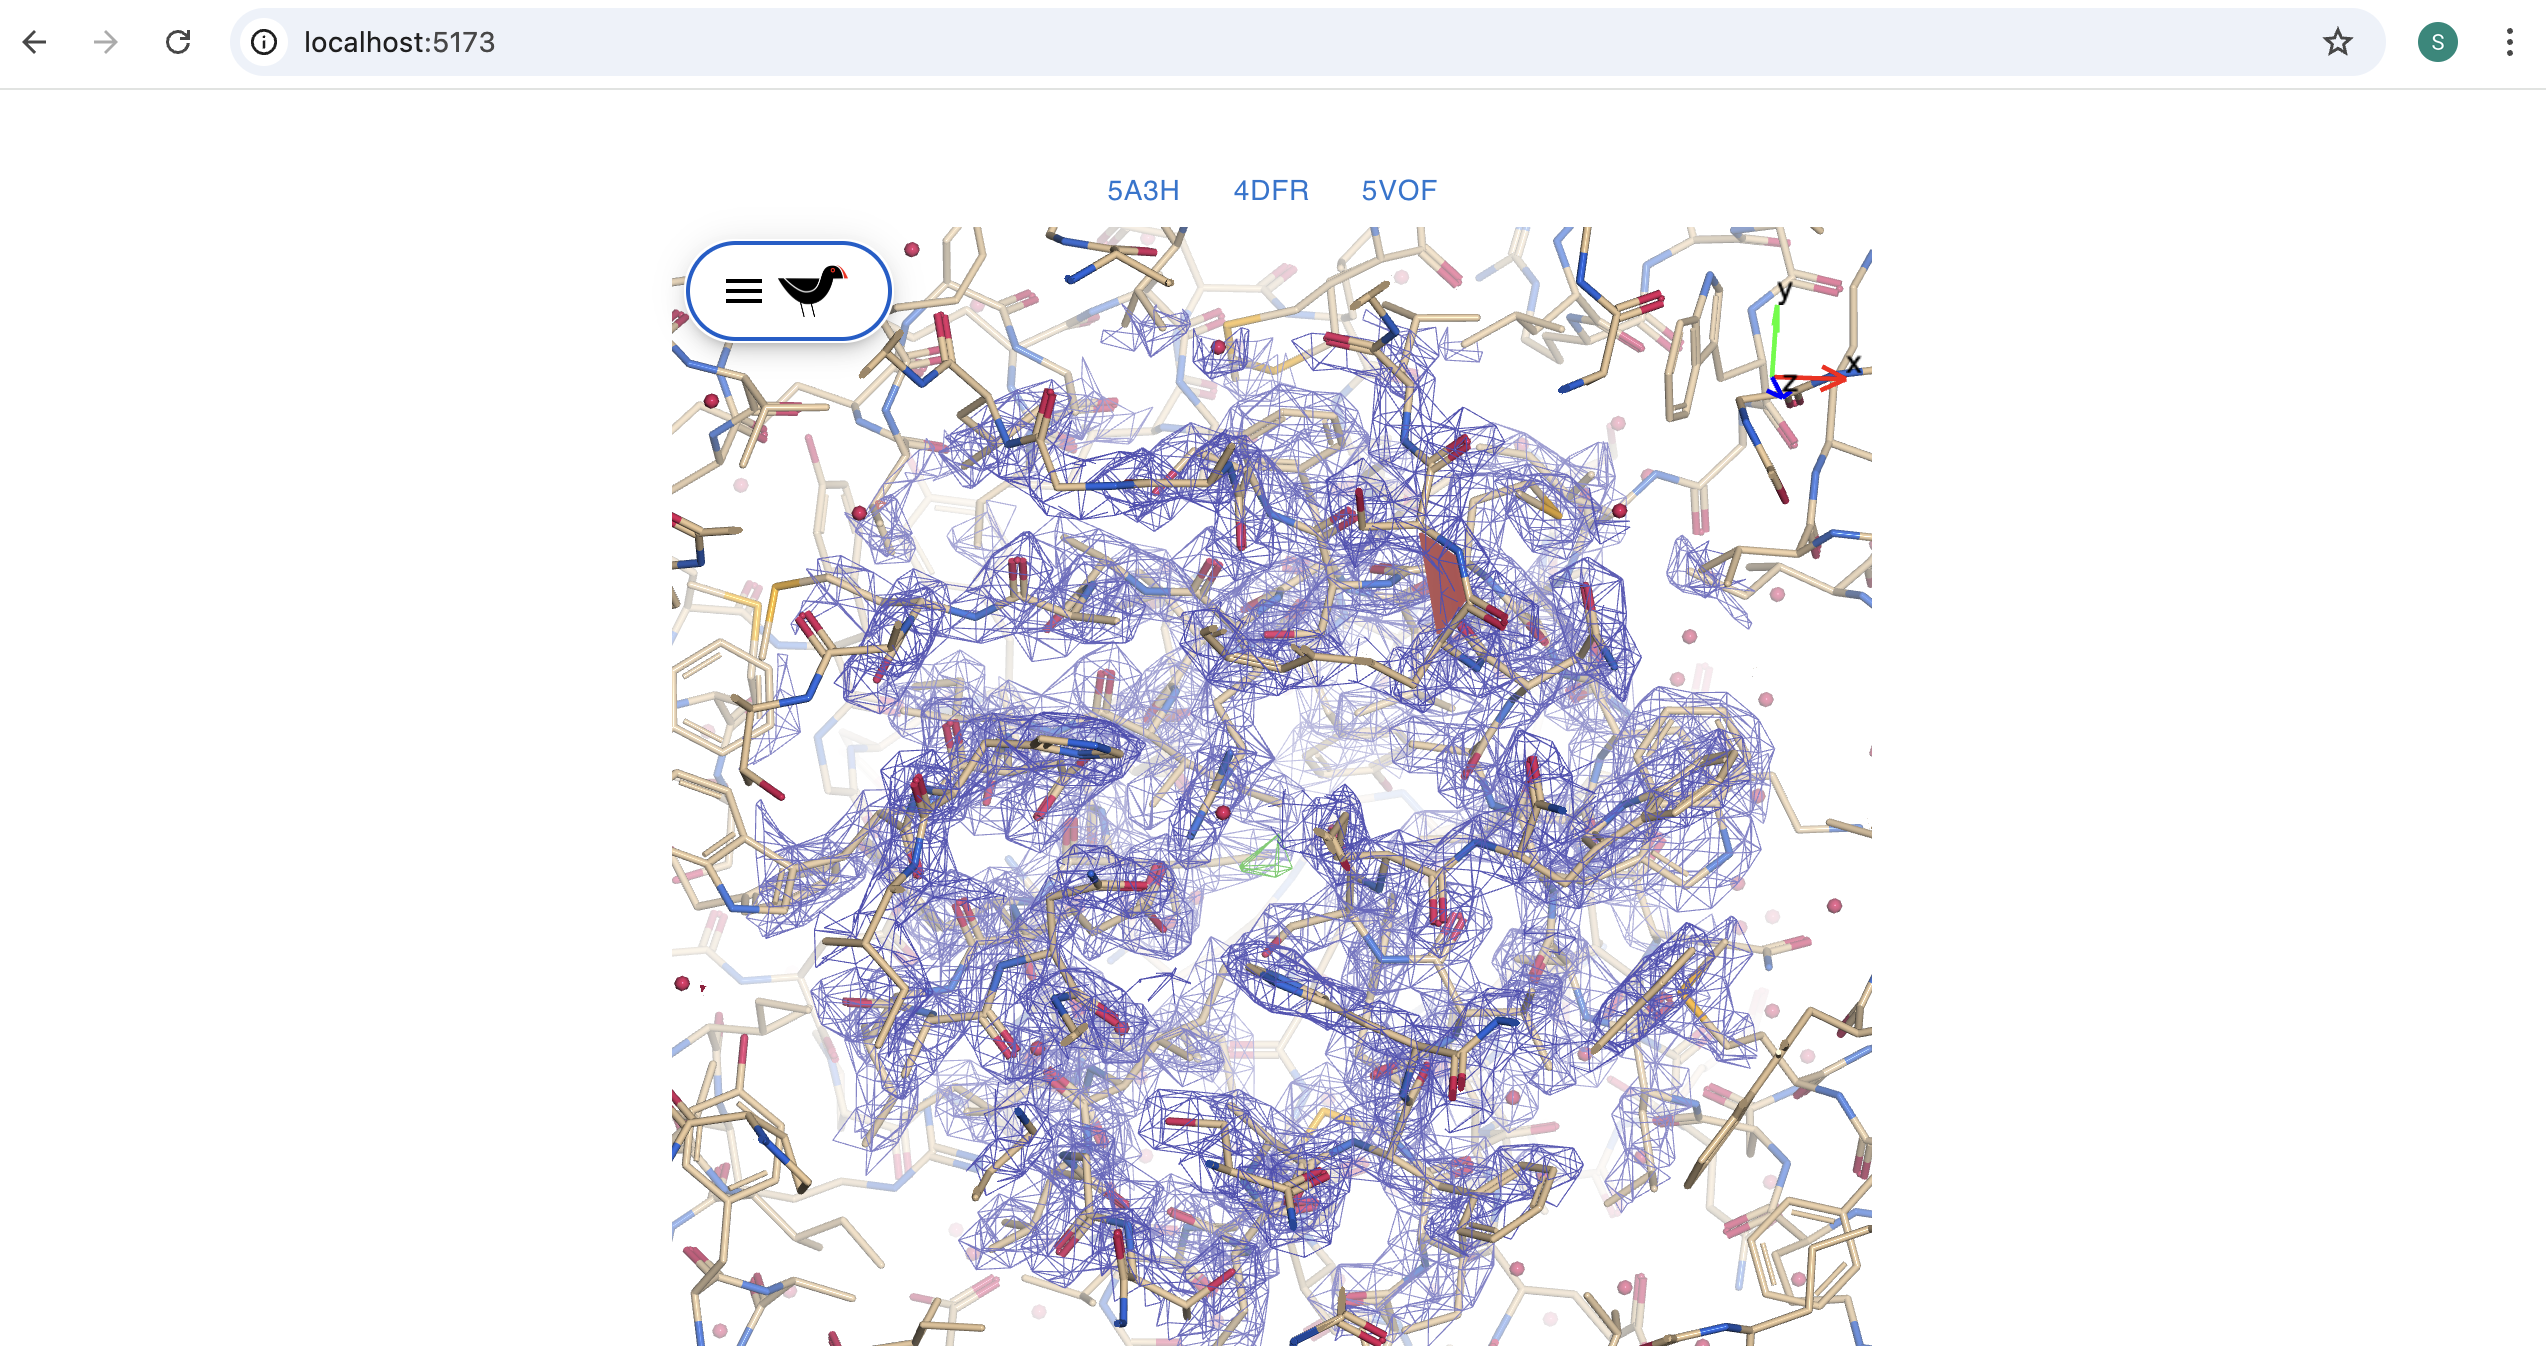
Our application should now look like this:
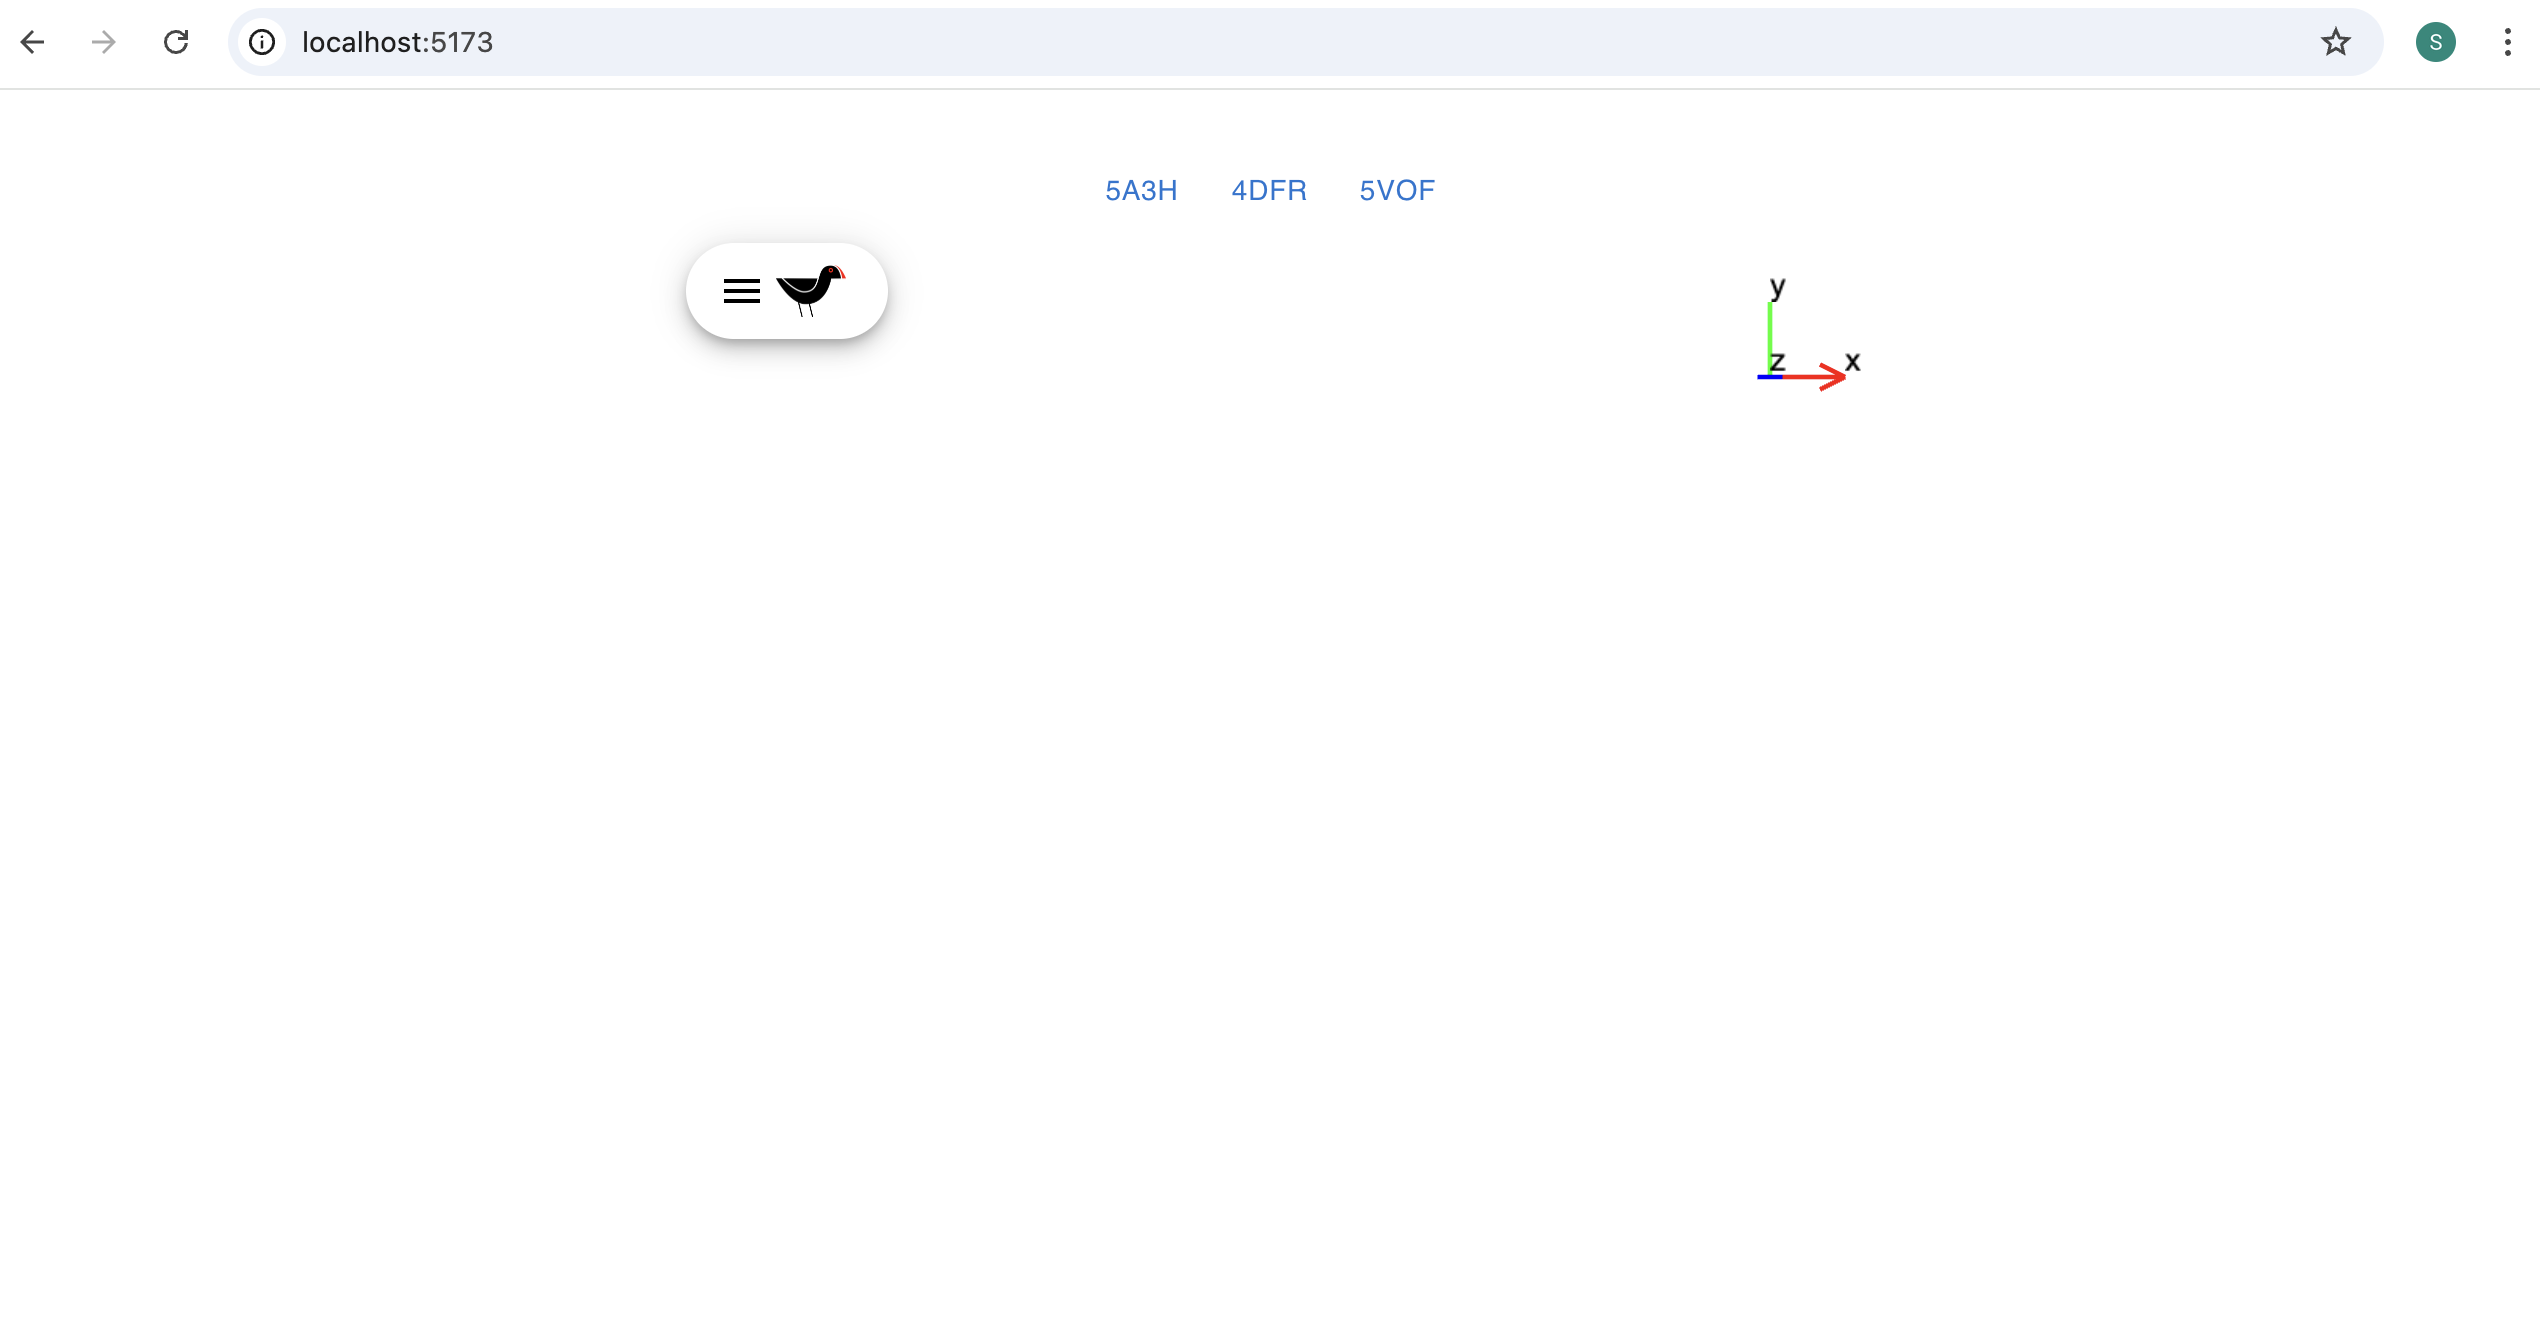
And, if we click, the 5A3H button a molecule, density map and difference density map should be loaded:
We can change the size of Moorhen’s 3D canvas:
    const setDimensions = () => {
        return [600,600]
    }

    return <>
            <Button onClick={() => onClick("5a3h")}>5a3h</Button>
            <Button onClick={() => onClick("4dfr")}>4dfr</Button>
            <Button onClick={() => onClick("5vof")}>5vof</Button>
               <MoorhenContainer setMoorhenDimensions={setDimensions} {...collectedProps}/>
           </>
This example can be downloaded from
https://github.com/stuartjamesmcnicholas/MinimalEmbeddedMoorhen
And rather than working through all of the above, one can simply do:
git clone https://github.com/stuartjamesmcnicholas/MinimalEmbeddedMoorhen.git
cd MinimalEmbeddedMoorhen
npm install
mkdir -p ./public && cp -r ./node_modules/moorhen/public/* ./public/
npm run dev
As with the first example, one can run npm run build to create a standalone deployable directory. The deployment root can also be passed to MoorhenContainer:
  const urlPrefix = "/xtal/ccp4/moorhen/baby-gru"
  const collectedProps = { urlPrefix, …ourOtherCollectedProps }
Adding Moorhen to a NextJS project
Create the NextJS application
npx create-next-app@latest

Need to install the following packages:
create-next-app@15.3.4
Ok to proceed? (y)
✔ What is your project named? … my-nextjs-app
✔ Would you like to use TypeScript? … No / Yes
✔ Would you like to use ESLint? … No / Yes
✔ Would you like to use Tailwind CSS? … No / Yes
✔ Would you like your code inside a src/ directory? … No / Yes
✔ Would you like to use App Router? (recommended) … No / Yes
✔ Would you like to use Turbopack for next dev? … No / Yes
✔ Would you like to customize the import alias (@/* by default)? … No / Yes
Creating a new Next.js app in /Users/stuart/MOORHEN_TEST_SERVER/my-nextjs-app.
Etc …
Install dependencies and edit config files
In this case an appropriate tsconfig.json is created for us, so we can leave that alone. The dependencies setup is similar to in the React example.
npm i react-redux @emotion/styled @emotion/react
npm i moorhen@0.22.0-beta.4
mkdir -p ./public
cp -r ./node_modules/moorhen/public/* ./public/
The CORS headers are set in next.config.ts:
import type { NextConfig } from "next";
const nextConfig: NextConfig = {
    async headers() {
    return [
        {
          source: '/:slug*',
          headers: [
            { key: 'Cross-Origin-Opener-Policy', value: 'same-origin' },
            { key: 'Cross-Origin-Embedder-Policy', value: 'require-corp' },
          ],
        },
      ]
    },
    output: 'standalone'
};
export default nextConfig;
Making Moorhen “Client Only”
NextJS is a more complete framework than React (and indeed includes React), including server and client components. At present Moorhen code must be run exclusively in the client (web browser), so we need to make a few changes to ensure that happens.
Firstly, we create a file src/app/ClientOnly.tsx:
"use client"
import { ReactNode, useState, useEffect } from 'react';
interface Props {
    children?: ReactNode
}
export function ClientOnly({ children, ...delegated }: Props) {
  const [hasMounted, setHasMounted] = useState(false);
  useEffect(() => {
    setHasMounted(true);
  }, []);
  if (!hasMounted) {
    return null;
  }
  return (
    <div {...delegated}>
      {children}
    </div>
  );
}
Then we edit src/app/layout.tsx to use this function:
import type { Metadata } from "next";
import { Geist, Geist_Mono } from "next/font/google";
import "./globals.css";
import { ClientOnly } from './ClientOnly';
...

export default function RootLayout({
  children,
}: Readonly<{
  children: React.ReactNode;
}>) {
  return (
    <html lang="en">
      <body className={${geistSans.variable} ${geistMono.variable} antialiased}>
  <ClientOnly>
        {children}
  </ClientOnly>
      </body>
    </html>
  )
}
Now we define our “client”, which is our application in src/app/Client.tsx:
'use client'
import { WrappedMoorhen } from './WrappedMoorhen';
import { Provider } from 'react-redux';
import { MoorhenReduxStore } from 'moorhen'

export const Client = () => {
  return (
      <Provider store={MoorhenReduxStore}>
          <WrappedMoorhen/>
      </Provider>
  )
}
And finally we need a “page”, this is the equivalent of an index.html file. It is defined in src/app/page.tsx:
'use client'

import Script from 'next/script'
import Image from "next/image";

import { Client } from './Client';

export default function Home() {
  return (
  <>
      <Script
        src="https://cdnjs.cloudflare.com/ajax/libs/lodash.js/4.17.20/lodash.min.js"
        onLoad={() => {
        const loadScript = (src:string) => {
            return new Promise((resolve, reject) => {
              const script = document.createElement('script')
              script.src = src
              script.onload = () => resolve(src)
              script.onerror = () => reject(new Error('Failed to load script: ' + src))
              document.head.appendChild(script)
            })
          }
          const memory64 = WebAssembly.validate(new Uint8Array([0, 97, 115, 109, 1, 0, 0, 0, 5, 3, 1, 4, 1]))
          if (memory64) {
            loadScript('/moorhen64.js').then(src => {
              createCoot64Module({
                print(t: string) { console.log(["output", t]) },
                printErr(t: string) { console.error(["output", t]) },
                locateFile(path: string, prefix: string) {
                // if it's a mem init file, use a custom dir
                if (path.endsWith(".data")) return "/" + path;
                // otherwise, use the default, the prefix (JS file's dir) + the path
                return prefix + path;
              }
              })
              .then((returnedModule) => {
                // @ts-ignore
                window.cootModule = returnedModule
                // @ts-ignore
                window.CCP4Module = returnedModule
                const cootModuleAttachedEvent = new CustomEvent("cootModuleAttached", { })
                document.dispatchEvent(cootModuleAttachedEvent)
                console.log(src + ' loaded 64-bit successfully.')
              })
              .catch((error) => {
                console.log("There was a problem creating Coot64Module...")
                console.error(error.message)
                console.log("Trying 32-bit fallback")
                loadScript('/moorhen.js')
                  .then(src => {
                    console.log(src + ' loaded 32-bit successfully (fallback).')
                    createCootModule({
                      print(t: string) { console.log(["output", t]) },
                      printErr(t: string) { console.log(["output", t]) }
                    })
                    .then((returnedModule) => {
                      // @ts-ignore
                      window.cootModule = returnedModule;
                      // @ts-ignore
                      window.CCP4Module = returnedModule;
                      const cootModuleAttachedEvent = new CustomEvent("cootModuleAttached", { })
                      document.dispatchEvent(cootModuleAttachedEvent)
                      console.log(src + ' loaded 32-bit successfully.')
                    })
                  })
                });
              })
              .catch((error) => {
              });
        } else {
          loadScript('/moorhen.js').then(src => {
              createCootModule({
                print(t: string) { console.log(["output", t]) },
                printErr(t: string) { console.log(["output", t]) },
                locateFile(path: string, prefix: string) {
                // if it's a mem init file, use a custom dir
                if (path.endsWith(".data")) return "/" + path;
                // otherwise, use the default, the prefix (JS file's dir) + the path
                return prefix + path;
              }
              })
              .then((returnedModule) => {
                // @ts-ignore
                window.cootModule = returnedModule
                // @ts-ignore
                window.CCP4Module = returnedModule
                const cootModuleAttachedEvent = new CustomEvent("cootModuleAttached", { })
                document.dispatchEvent(cootModuleAttachedEvent)
                console.log(src + ' loaded 32-bit successfully.')
              })
              .catch((e) => {
                console.log(e)
              });
            })
        }
        }}
      />
      <Client/>
  </>
  );
}
This is basically the same as the index.html in the previous example, but done in the NextJS way.
Customizing the application
Now we could use the same WrappedMoorhen.tsx as in the plain React example, but lets make a few changes to make a more interesting application:
import { addMolecule, addMap, setActiveMap } from 'moorhen'
import { MoorhenContainer, MoorhenMolecule, MoorhenMap, MoorhenReduxStore, setShowShortcutToast, setShowHoverInfo, hideMolecule, showMolecule, hideMap, showMap } from 'moorhen'
import { useRef, useEffect, useState } from 'react';
import { Container, Row, Col, Form, Button, Table } from 'react-bootstrap';
import { moorhen } from 'moorhen/types/moorhen';
import { useDispatch, useSelector } from 'react-redux';
import { UndoOutlined, RedoOutlined, CenterFocusWeakOutlined, ExpandMoreOutlined, ExpandLessOutlined, VisibilityOffOutlined, VisibilityOutlined, DownloadOutlined, Settings, InfoOutlined } from '@mui/icons-material'
...
We’ve pulled in a few more Moorhen methods and some icons from MaterialUI.
export const WrappedMoorhen = () =>  {
    const pdbCodeFetchInputRef = useRef<HTMLInputElement | null>(null);
    const visibleMolecules = useSelector((state: moorhen.State) => state.molecules.visibleMolecules)
    const visibleMaps = useSelector((state: moorhen.State) => state.mapContourSettings.visibleMaps)
    const [originText,setOriginText] = useState<string>("")
    const [modalSize, setModalSize] = useState<{ width: number; height: number }>({width: 500,height: 500})
We have created a reference to an HMTL input, this will allow us to inspect an input we define later in our React code. We also now grab the list of visible maps and molecules.
We will draw the text in the internal state variable “originText” in a widget in our application. “modalSize” will be passed to some additional components.
The following allows us to update originText in response to the view origin changing.
    const origin = useSelector((state: moorhen.State) => state.glRef.origin)
    useEffect(() => {
        const newOriginText = -origin[0].toFixed(2)+" "+-origin[1].toFixed(2)+" "+-origin[2].toFixed(2)+" "
        setOriginText(newOriginText)
    }, [origin])
We are going to make the variable sent to loadData depend on our HTML input, rather than what is hardwired into buttons.
    const buttonClicked = () => {
        if(pdbCodeFetchInputRef.current){
           if(pdbCodeFetchInputRef.current.value.length>0){
               loadData(pdbCodeFetchInputRef.current.value)
           }
        }
    }
fetchMolecule, fetchMap, loadData, setDimensions are defined just the same as in the plain React example.
Now let’s define the user interface:
    return <Container fluid className="p-0">
             <Row>
                 <Col>
                     <MoorhenContainer viewOnly={false} sx= setMoorhenDimensions={setDimensions} {...collectedProps}/>
                 </Col>
                 <Col>
                     <Row className="p-3">
                         <Form className="mb-3">
                           <Form.Group controlId="exampleForm.ControlInput1">
                             <Form.Label>PDB Code</Form.Label>
                             <Form.Control className="w-75" type="text" placeholder="5A3H"  ref={pdbCodeFetchInputRef}
                                 onKeyDown={(e) => {
                                     console.log(e.code)
                                     if (e.code === 'Enter') {
                                         buttonClicked()
                                         e.preventDefault()
                                     }
                             }}/>
                           </Form.Group>
                         </Form>
                         <Button className="w-50" variant="primary" type="submit" onClick={buttonClicked}>
                             Load
                         </Button>
                     </Row>
                     <Row className="p-1">
                         <h6>Models</h6>
                         <Table>
                             <tbody>
                             {molecules.map((mol,i) => {
                                 const isVisible = (visibleMolecules.indexOf(mol.molNo)>-1)
                                 const handleCentering = () => {
                                     mol.centreOn()
                                 }
                                 const handleVisibility = (() => {
                                     if(isVisible){
                                         dispatch(hideMolecule({molNo:mol.molNo}))
                                     } else {
                                         dispatch(showMolecule({molNo:mol.molNo,show:true}))
                                     }
                                 })
                                 return <tr key={i}>
                                     <td>{mol.name}</td>
                                     <td>
                                     <Button key={1} size="sm" variant="outlined" onClick={handleVisibility}>
                                     {isVisible ? <VisibilityOutlined /> : <VisibilityOffOutlined />}
                                     </Button>
                                     <Button key={2} size="sm" variant="outlined" onClick={handleCentering}>
                                     <CenterFocusWeakOutlined />
                                     </Button>
                                     </td>
                                     </tr>
                             })}
                             </tbody>
                         </Table>
                         <h6>Maps</h6>
                         <Table>
                             <thead>
                                 <tr>
                                     <th></th>
                                     <th></th>
                                     <th>Active</th>
                                 </tr>
                             </thead>
                             <tbody>
                             {maps.map((map,i) => {
                                 const isVisible = (visibleMaps.indexOf(map.molNo)>-1)
                                 const isActive = activeMap.molNo === map.molNo
                                 const handleActive = (() => {
                                     dispatch(setActiveMap(map))
                                 })
                                 const handleVisibility = (() => {
                                     if(isVisible){
                                         dispatch(hideMap({molNo:map.molNo}))
                                     } else {
                                         dispatch(showMap({molNo:map.molNo,show:true}))
                                     }
                                 })
                                 return <tr key={i}>
                                     <td>{map.name}</td>
                                     <td>
                                     <Button key={1} size="sm" variant="outlined" onClick={handleVisibility}>
                                     {isVisible ? <VisibilityOutlined /> : <VisibilityOffOutlined />}
                                     </Button>
                                     </td>
                                     { isActive &&
                                     <td>
                                         <Form.Check
                                           type={"radio"}
                                           name="mapactivegroup"
                                           checked
                                         />
                                     </td>
                                     }
                                     { !isActive &&
                                     <td>
                                         <Form.Check
                                           type={"radio"}
                                           name="mapactivegroup"
                                           onClick={handleActive}
                                         />
                                     </td>
                                     }
                                     </tr>
                             })}
                             </tbody>
                         </Table>
                     </Row>
                     <Row>
                     Origin: {originText}
                     </Row>
                     <Row>
                     {(hoveredAtom && hoveredAtom.cid && hoveredAtom.molecule) &&
                     <>{hoveredAtom.molecule.name+" "+hoveredAtom.cid}</>
                     }
                     </Row>
                     <Row>
                     <MoorhenRamachandran size={modalSize} resizeTrigger={false} urlPrefix={"/baby-gru"} commandCentre={commandCentre} />
                     </Row>
                 </Col>
             </Row>
           </Container>
There is quite a lot to this. A few to highlight:
- The HTML
inputwe are using to define the PDB accession code we use forloadData. - The place where
originTextis displayed. - The loops over maps and molecules which draw widgets for each map and molecule - there are visibility and centering buttons for molecules, visibility and active buttons for maps.
- A Ramachandran plot widget.
Run the development server
Stuarts-MacBook-Pro:my-nextjs-app stuart$ npm run dev
> my-nextjs-app@0.1.0 dev
> next dev --turbopack
   ▲ Next.js 15.3.4 (Turbopack)
   - Local:        http://localhost:3000
   - Network:      http://192.168.1.216:3000
 ✓ Starting...
 ✓ Ready in 936ms
 ○ Compiling / ...
 ✓ Compiled / in 3.9s
 GET / 200 in 4475ms
 ✓ Compiled /favicon.ico in 476ms
 GET /favicon.ico?favicon.45db1c09.ico 200 in 714ms
Type in a PDB code and press “Load”
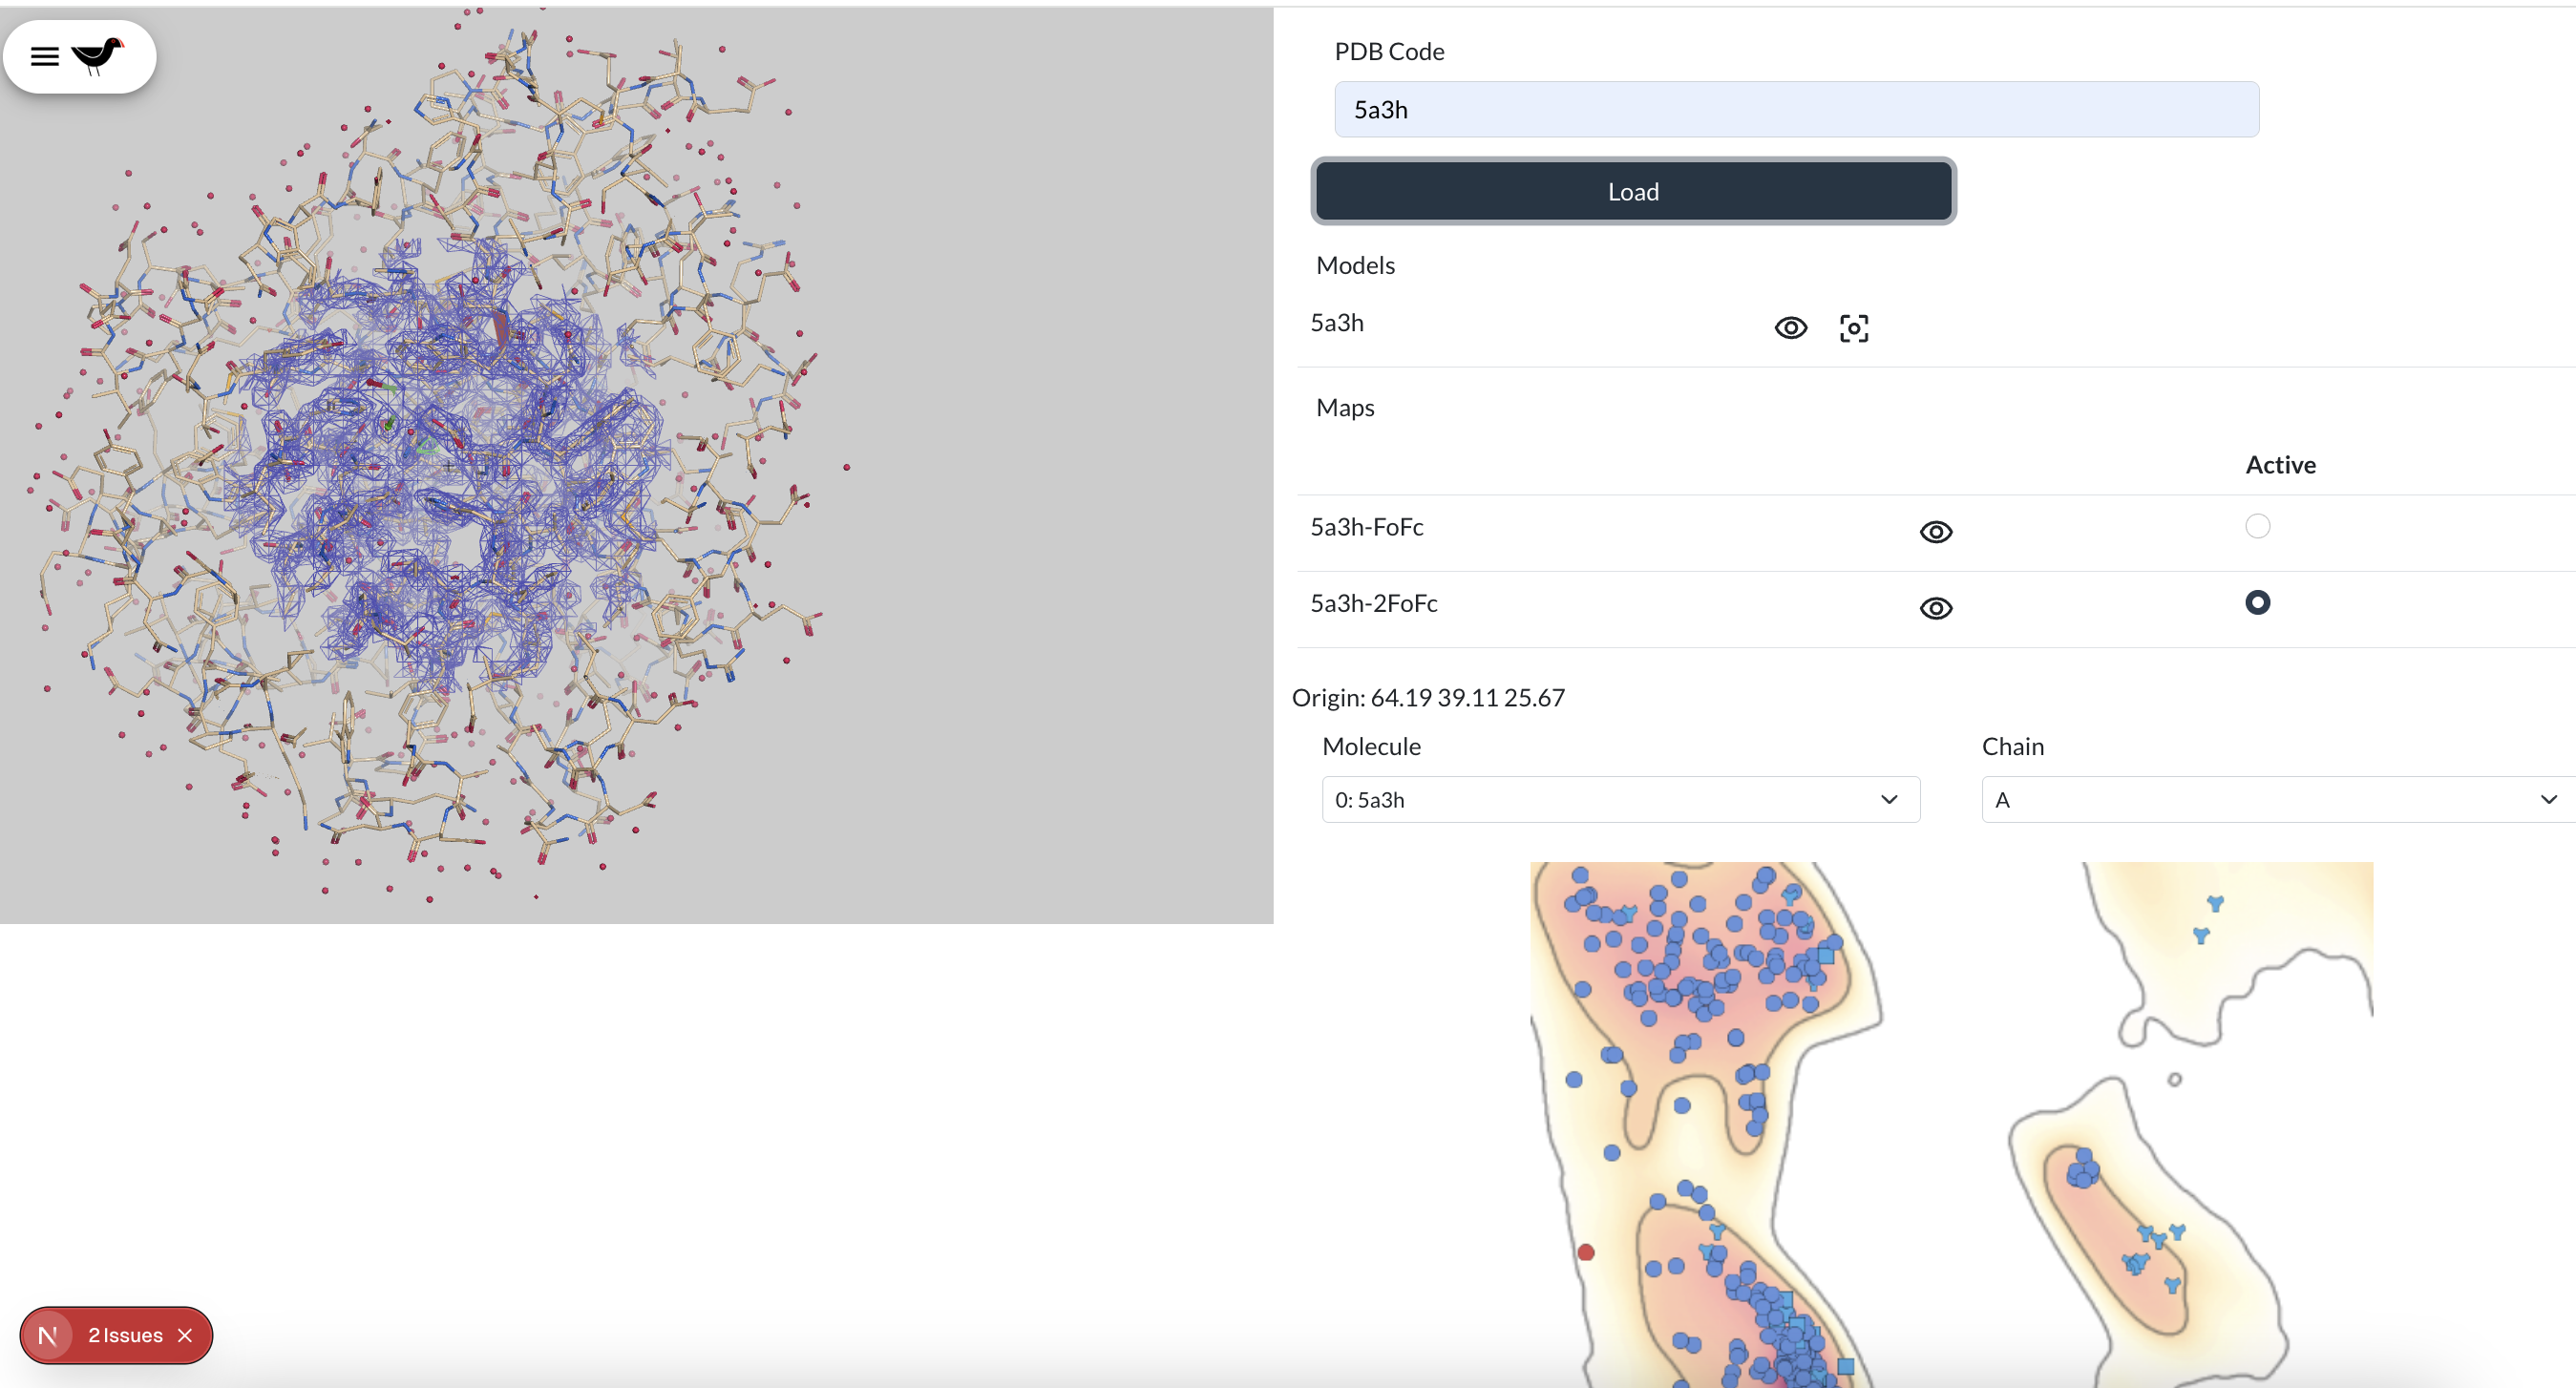
Note that there has been no attempt at laying things out / styling nicely - the whole page has to be scrolled to make the Ramachandran plot visible.
Clicking on spots in the Ramachandran plot should change the origin. Using the usual Moorhen controls should update the origin text displayed under the molecules/maps widgets. The map and molecule buttons should work.
The full code for this example is available at https://github.com/stuartjamesmcnicholas/MoorhenEmbedNext
If you download the example you can try changing the Ramachandran plot for a different analysis widget. They don’t all perform perfectly at the moment, and some cannot be drawn at the same time. The exporting of the validation widget is very new and experimental.
Static build
A static, deployable, build can be made with by adding the “build” rule below to the package.json file. This seems quite complicated which means there is probably a better way:
"build": "mkdir -p ./public && cp -r ./node_modules/moorhen/public/* ./public/; cp -r ./node_modules/moorhen/types/ src/types; next build; cp -r public/* .next/standalone/.next/server/app; mkdir -p .next/standalone/.next/server/app/_next/; cp -r .next/static .next/standalone/.next/server/app/_next/static",
Then do:
npm run build
The output directory is .next/standalone/.next/server/app/
Building an electron version of Moorhen
There is an example of incorporating Moorhen into an Electron App at:
https://github.com/moorhen-coot/MoorhenElectron
This example is just plain Moorhen, with no addtional components. There are several scripts in the package.json which
build Electron apps from the Moorhen npm module and also create restributable packages.
    "make-mac": "npm run build && electron-forge make --platform darwin",
    "make-mac-intel": "npm run build && electron-forge make --arch=x64 --platform darwin",
    "make-mac-m1": "npm run build && electron-forge make --arch=arm64 --platform darwin",
    "make-mac-arm": "npm run build && electron-forge make --arch=arm64 --platform darwin",
    "make-linux": "npm run build && electron-forge make --platform linux",
    "make-linux-intel": "npm run build && electron-forge make --arch=x64 --platform linux",
    "make-linux-arm": "npm run build && electron-forge make --arch=arm64 --platform linux",
    "make-win32": "npm run build && electron-forge make --platform win32",
    "package-win32": "npm run build && electron-forge package --platform win32",
    "zip-win32": "npm run package-win32 && cd out && zip -r Moorhen-${npm_package_version}-win32-x64.zip Moorhen-win32-x64"
The win32 commands are only known to work on Linux on Windows. A Moorhen Electron release is available:
Linux Intel binaries and Windows binaries are made on a Linux Intel machine;
Arm Linux binaries are made on a Raspberry Pi;
Mac (Intel and Arm) are made on an Arm Mac.
The Moorhen Electron app contains both a client and a server. The client is the Electron packaged Chromium window, this connects
to a node express server which is started up when the app is launched.
The server public/electron.js looks like:
const path = require("path");
const express = require('express');
const process = require('process');

const { app, BrowserWindow } = require("electron");
const isDev = require("electron-is-dev");

// Handle creating/removing shortcuts on Windows when installing/uninstalling
if (require("electron-squirrel-startup")) {
  app.quit();
}

// Conditionally include the dev tools installer to load React Dev Tools
let installExtension, REACT_DEVELOPER_TOOLS;

if (isDev) {
  const devTools = require("electron-devtools-installer");
  installExtension = devTools.default;
  REACT_DEVELOPER_TOOLS = devTools.REACT_DEVELOPER_TOOLS;
}

function createWindow() {
  // Create the browser window.
  const win = new BrowserWindow({
    width: 800,
    height: 600,
    icon: path.join(__dirname,"..","src","icons","png","128x128.png"),
    webPreferences: {
      nodeIntegration: true
    }
  });


  if(process.argv.length>2){
      win.loadURL(process.argv[2]);
  } else if(process.argv.length>1&&process.argv[1]!=="--no-sandbox"){
      win.loadURL(process.argv[1]);
  } else {

      let server;

      if(!isDev) {

          const MINPORT = 32778;
          const MAXPORT = 32800;

          const exp = express();

          exp.use(function(req, res, next) {
              res.header("Cross-Origin-Embedder-Policy", "require-corp");
              res.header("Cross-Origin-Opener-Policy", "same-origin");
              next();
          });

          exp.use(express.static(path.join(__dirname,"..","build")));

          exp.get('/', (req, res) => {
              res.send('Hello World! '+path.join(__dirname,"..","build"));
          });

          function serve(port) {
              server = exp.listen(port, () => {
                  console.log('Listening on port:', server.address().port);
                  win.loadURL( "http://localhost:"+server.address().port+"/index.html");
              }).on('error', function(err) {
                  if(port<MAXPORT){
                      serve(port+1);
                  } else {
                      throw new Error("Run out of ports in Moorhen's range 32778-32800");
                  }
              });
          }
          serve(MINPORT);
      } else {
          win.loadURL("http://localhost:9999");
      }


      // Open the DevTools.
      if (isDev) {
        win.webContents.openDevTools({ mode: "detach" });
      }
  }
}

// This method will be called when Electron has finished
// initialization and is ready to create browser windows.
// Some APIs can only be used after this event occurs.
app.whenReady().then(() => {
  createWindow()

  app.on('activate', () => {
    if (BrowserWindow.getAllWindows().length === 0) createWindow()
  })
})


// Quit when all windows are closed, except on macOS. There, it's common
// for applications and their menu bar to stay active until the user quits
// explicitly with Cmd + Q.
app.on("window-all-closed", () => {
  if (process.platform !== "darwin") {
    app.quit();
  }
});

// In this file you can include the rest of your app's specific main process
// code. You can also put them in separate files and require them here.
There is also a template public/index.html which is used to make the real HTML page when we run npm run build, etc.
The client React code is in src/index.tsx, src/App.tsx and is very similar to the early React examples.
All the magic which turns this into an application is in the "config": { "forge": {...}} section of package.json
Building the Moorhen module yourself
This might be useful if there’s a bug/missing feature in the Moorhen npm module and you need to deploy a fix before the Moorhen team releases a new version.
- Build moorhen, see https://github.com/moorhen-coot/Moorhen .
(After building you can run your Moorhen with:
cd baby-gru
npm start
This is not necessary, but maybe useful for testing) - In your Moorhen directory:
cd baby-gru
npm run build-release
cd dist
npm pack - In your projects
package.json, change:
"moorhen": "^0.22.0-beta.4"
to:
"moorhen": "file:///home/myusername/Moorhen/baby-gru/dist/moorhen-0.22.0-beta.4.tgz"
Then
npm install
Documentation
- This document, I hope there aren’t terrible errors in it. If there are, then at least the projects below should work.
- Filo’s wiki articles, which contain some outdated information but are well written and still useful:
- Example projects:
- Class/function documentation: